Showing posts with label Arlington Artists Academy. Show all posts

Monday, July 15, 2019

What truly makes this blog special- Mistakes! (Guest Post by Ian Vance, Part 4/4)


What Truly Makes This Blog Special - Mistakes!
Part 4 of 4
Author: Ian Vance, Intern with Arlington Artists Academy at Gallery Clarendon.

Hello again, readers! I’m back for the fourth and final installment of the blog that we have going on here. It’s been challenging, but I had a lot more fun than I expected learning to draw. Of course, maybe it was improved slightly by writing about it with a mix of enthusiasm and a little self-deprecating humor, but hey, we made it this far. I’ll be getting into my final thoughts on the book in a moment, but first, let’s dive into the thrilling(-ish) conclusion of my experience, starting with the face drawing that I began last time. 
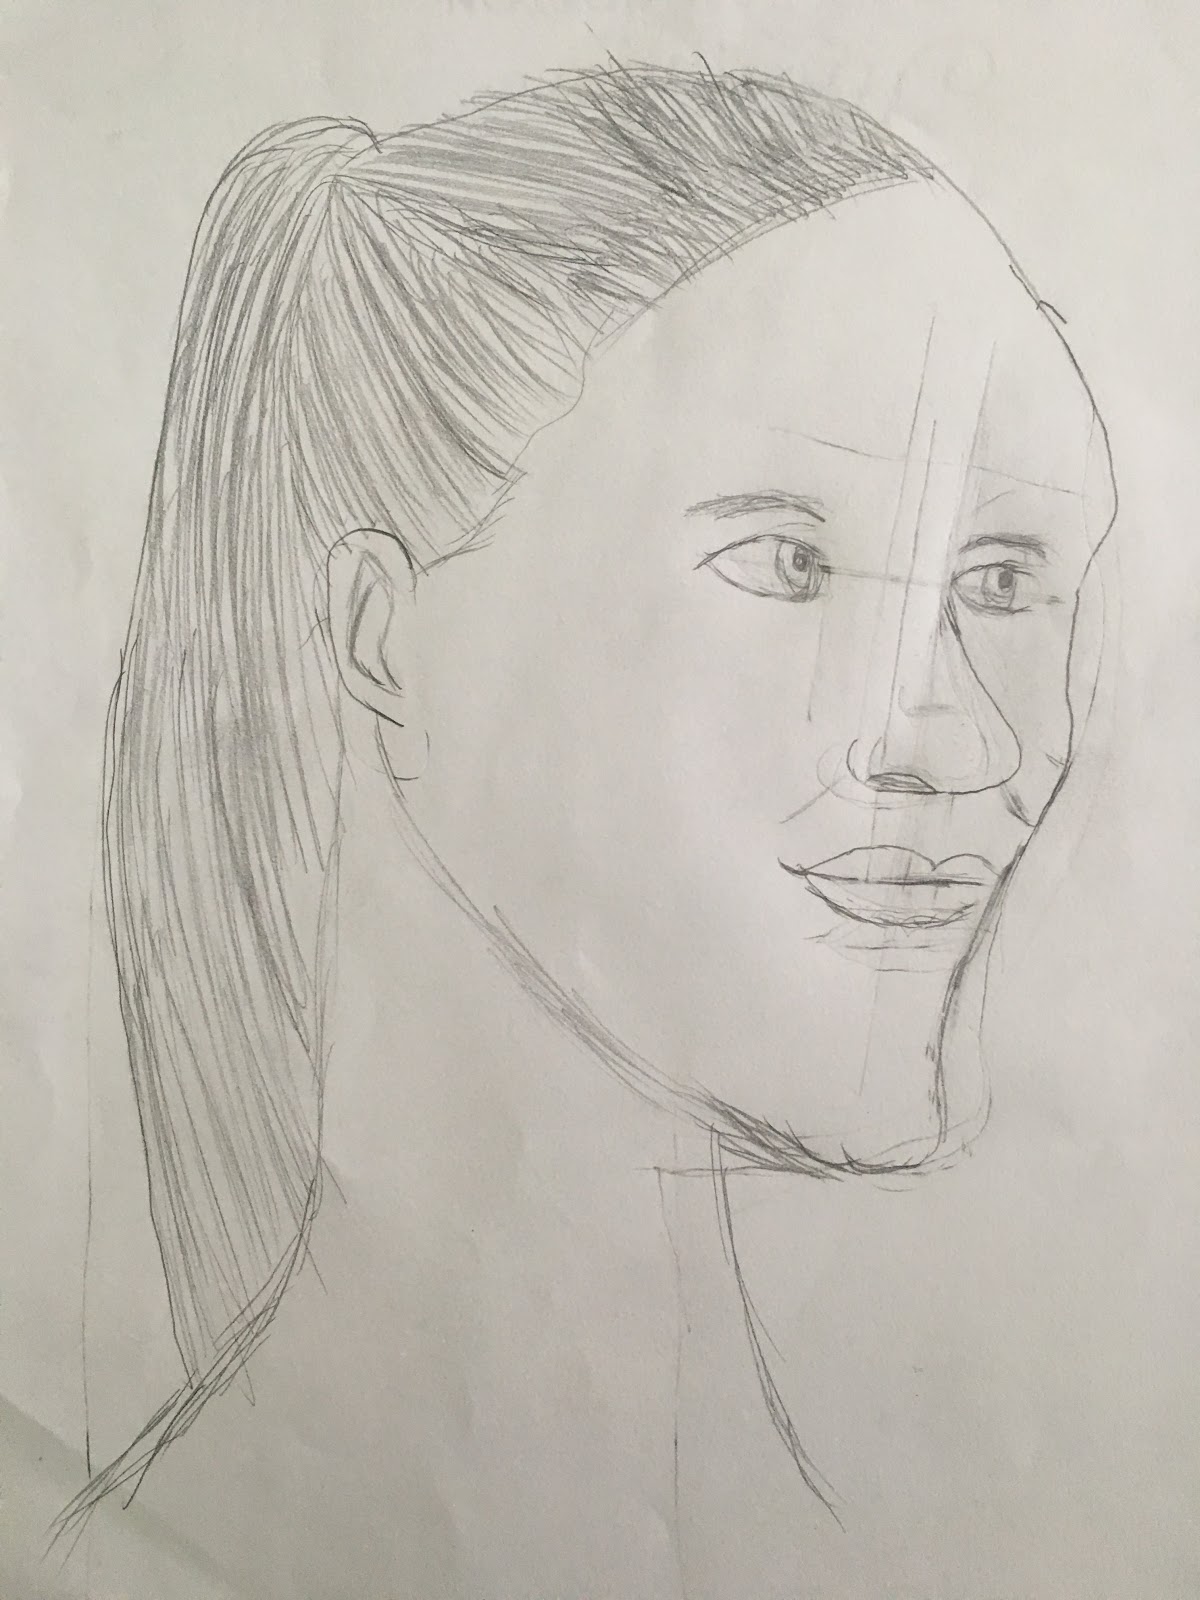
 
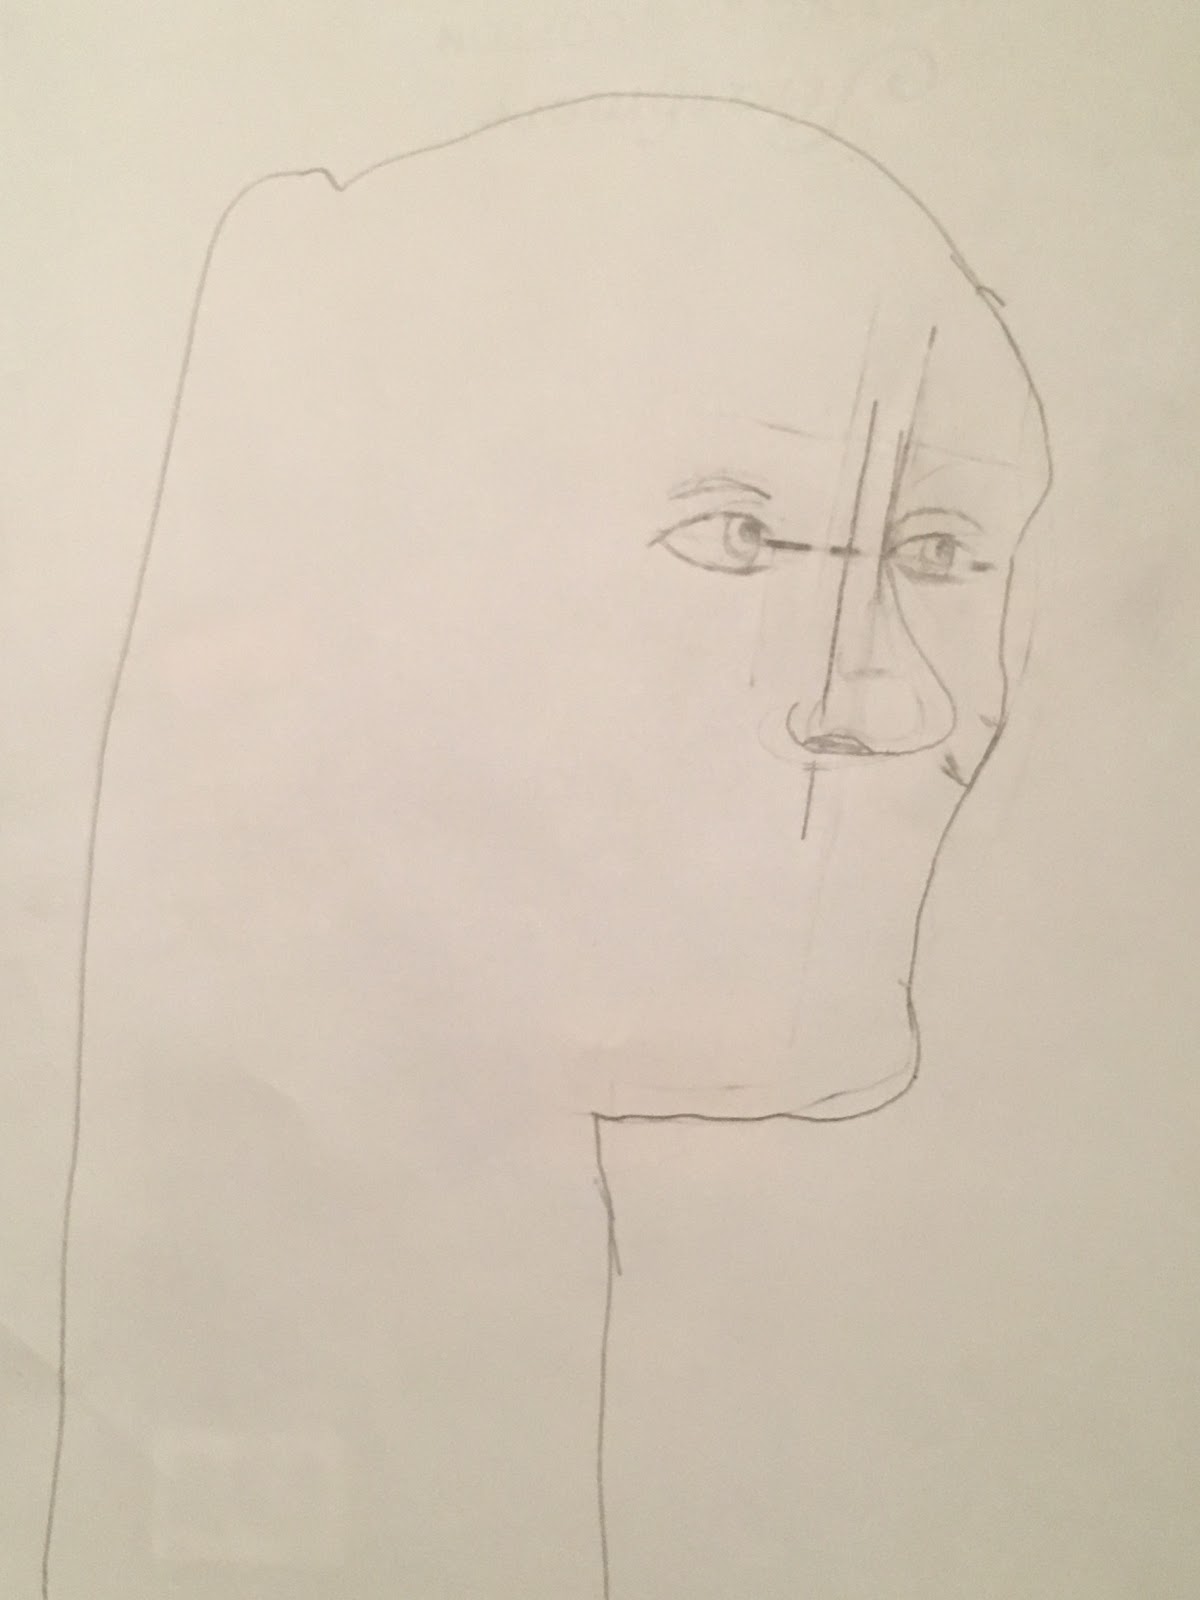
Following the rough outline that I displayed in the previous entry, I got to work on finishing the three-quarter perspective, and I’m pretty satisfied with how it turned out. Sure, it still somewhat resembles E.T’s dream date, but if we’re comparing it to my first face drawing, it’s definitely an improvement. It goes to show that proportion and drawing things just as you see them can go a good ways towards improving drawing ability. 

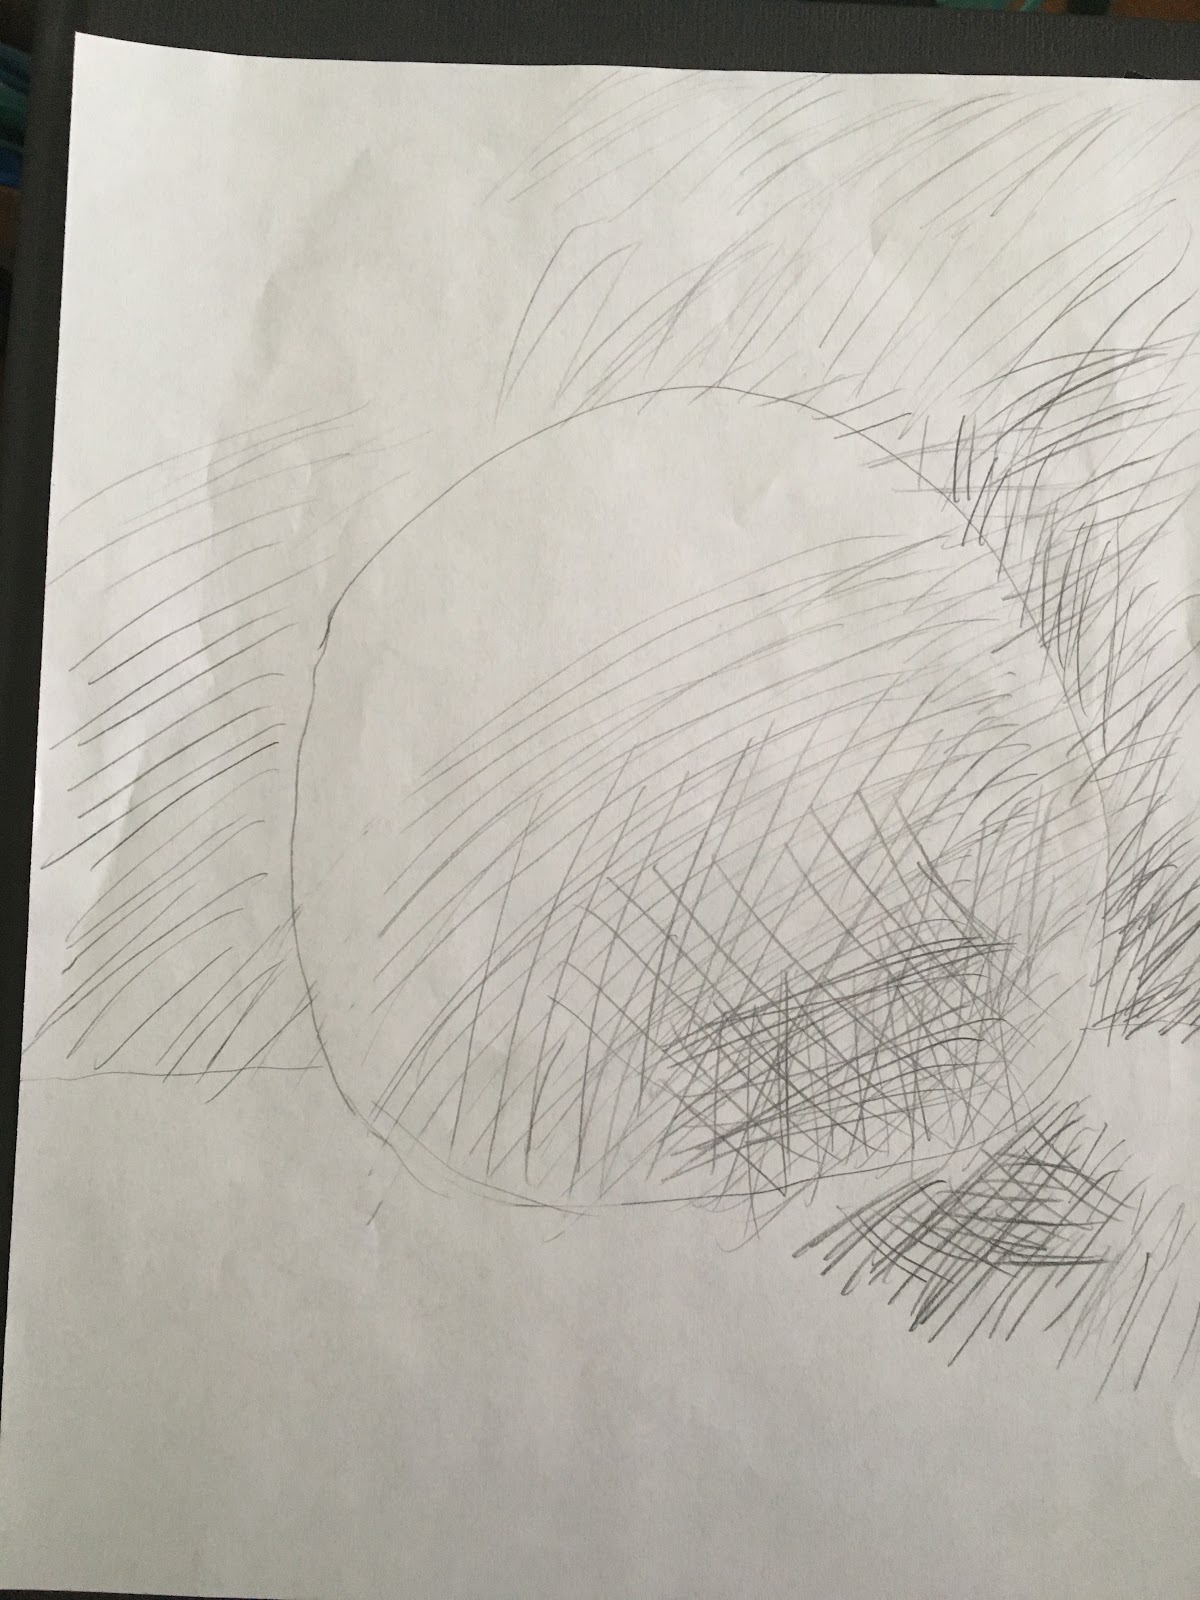
Additionally, in Drawing on the Right Side of the Brain by Betty Edwards, I read about learning to shade objects, and the method that was brought up was cross-hatching, or drawing more lines crossing over each other to darken the shadowed areas. Surely, such a simple method could be easy to apply. 
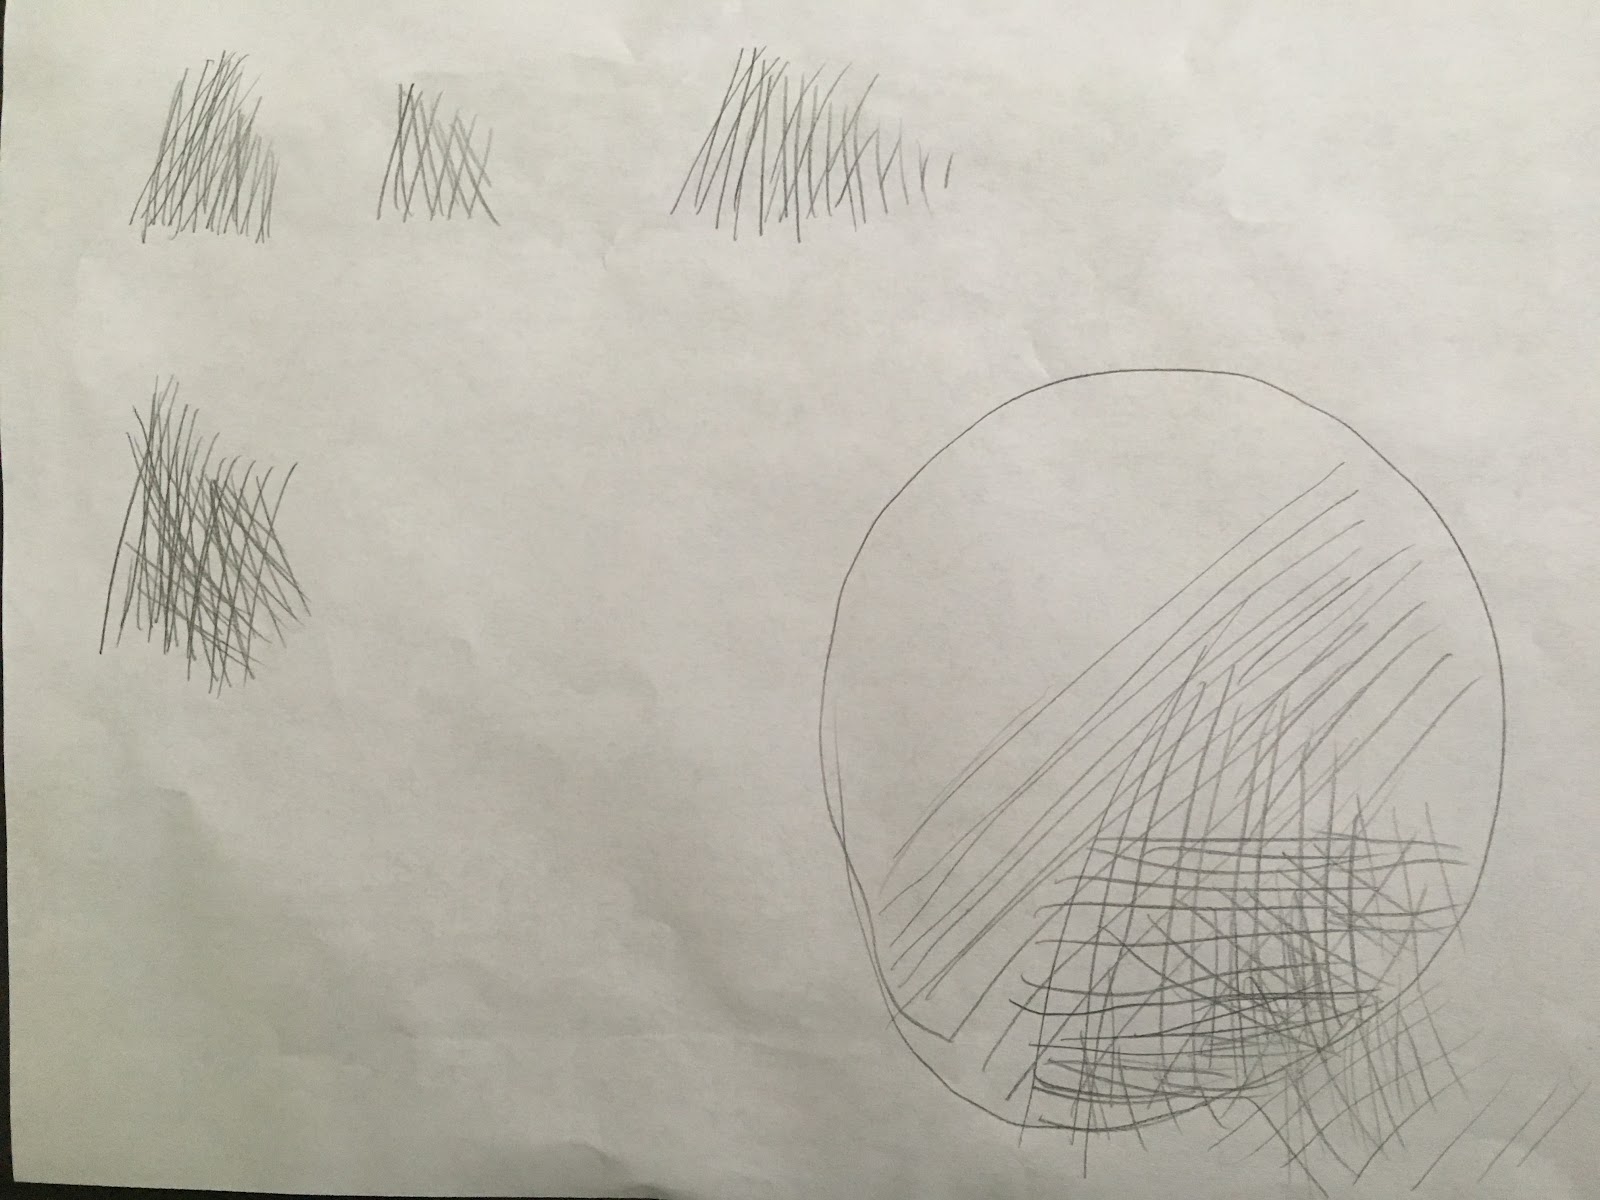
First attempt at cross hatching. Yikes!
Second attempt at cross hatching. Yikes!

Okay, so very clearly, it’s gonna need some practice. It’s worth mentioning that these are first and second attempts, so of course they’ll look rough. Frankly, however, I think that simply resembling shading is a good start, as shown by the other steps forward that Drawing on the Right Side of the Brain takes you towards. 

And that’s just about all the basic ideas that the book runs through. Once again, I cannot emphasize enough how important it is that these are only glances into the exercises that the book takes you through, and the type of improvement that you’ll want to see when reading through it. I haven’t even covered some of the more major topics that it goes over, such as properly drawing a side view of a head or using negative space in shading with an ink brush (the latter of which was somewhat difficult to do given my lack of proper ink on hand at the time. That’s more my fault). What I have covered only involves the basics of what this book goes into, and yet the improvement in just those basics is evident. I would highly recommend picking this up. 

Moving aside from the book alone, working on this blog has really gotten me back into both drawing and art in general. I mainly stayed away due to a preconceived lack of talent in the area, but sharing my progress has taught me that quite literally anyone can draw. It doesn’t have to look incredibly realistic to look good, and it doesn’t have to be deeply thought-out to portray what you have on your mind. Granted, there is a correlation, but I had a lot of fun just learning to do what I stopped doing in elementary school. 

As I say goodbye to my readers and my old classmates that are heading off to colleges across the country (and sometimes out of it, too), I leave this bit of advice: Don’t sell yourself short, telling yourself that something just isn’t your thing. Sure, it might not be, but you could be surprised at what you’re capable of. No matter how many mistakes you may see in the work that you do, there are probably just as many improvements that you made just by trying it. Nobody is perfect at what they do, but allowing yourself to try your hand may just show you that you could be. 

This has been Ian, part-time artist, reporting from Gallery Clarendon, and I do hope that this blog has encouraged you all to try giving drawing a shot (or any new thing, really). Thank you for watching my progress with me, and take care.

Friday, June 21, 2019

New Vs. Old: A True Face-Off! (Guest Post by Ian Vance, Part 3/4)

New Vs. Old: A True Face-Off!
Part 3 of 4
Author: Ian Vance, Intern with Arlington Artists Academy at Gallery Clarendon. 

Hello again, it’s the planet’s most talented illustrator here again for another update on my experience learning how to draw. During my previous posts, I focused on reading through Drawing on the Right Side of the Brain’s first half, learning proper contours and proportions, focusing more on relative size and distance rather than the actual objects I’m drawing and what the whole picture should look like. This time, though, I was more focused on learning to apply that to drawing faces. 

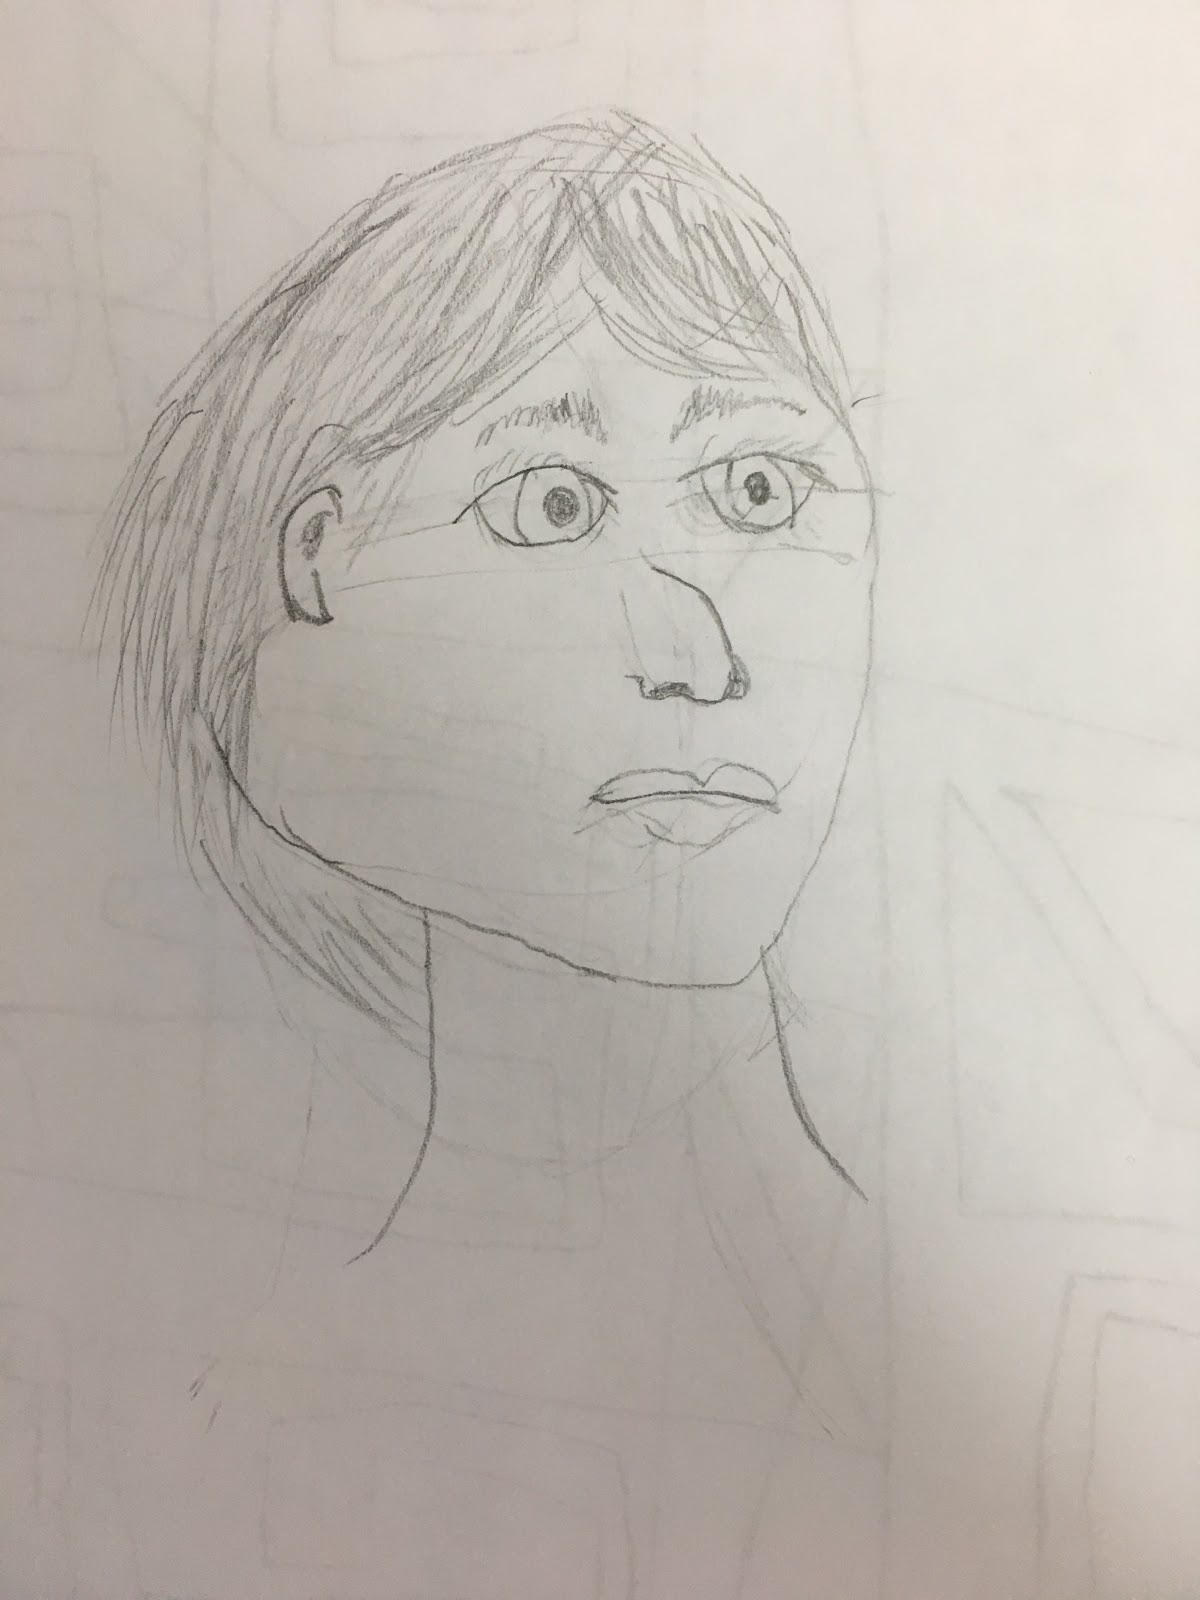
If you’d recall the first exercise I did, I was to attempt to draw a picture of a face to compare later on. It definitely had a fairly ok facial resemblance, but lacked proper anatomy or… good drawing to improve it in a practical manner. 

For all the criticism I gave this drawing, though, I’m starting to like it more, and not just because it has a comically blank stare. It actually looks somewhat proportionally sound, if not a little cartoony. 

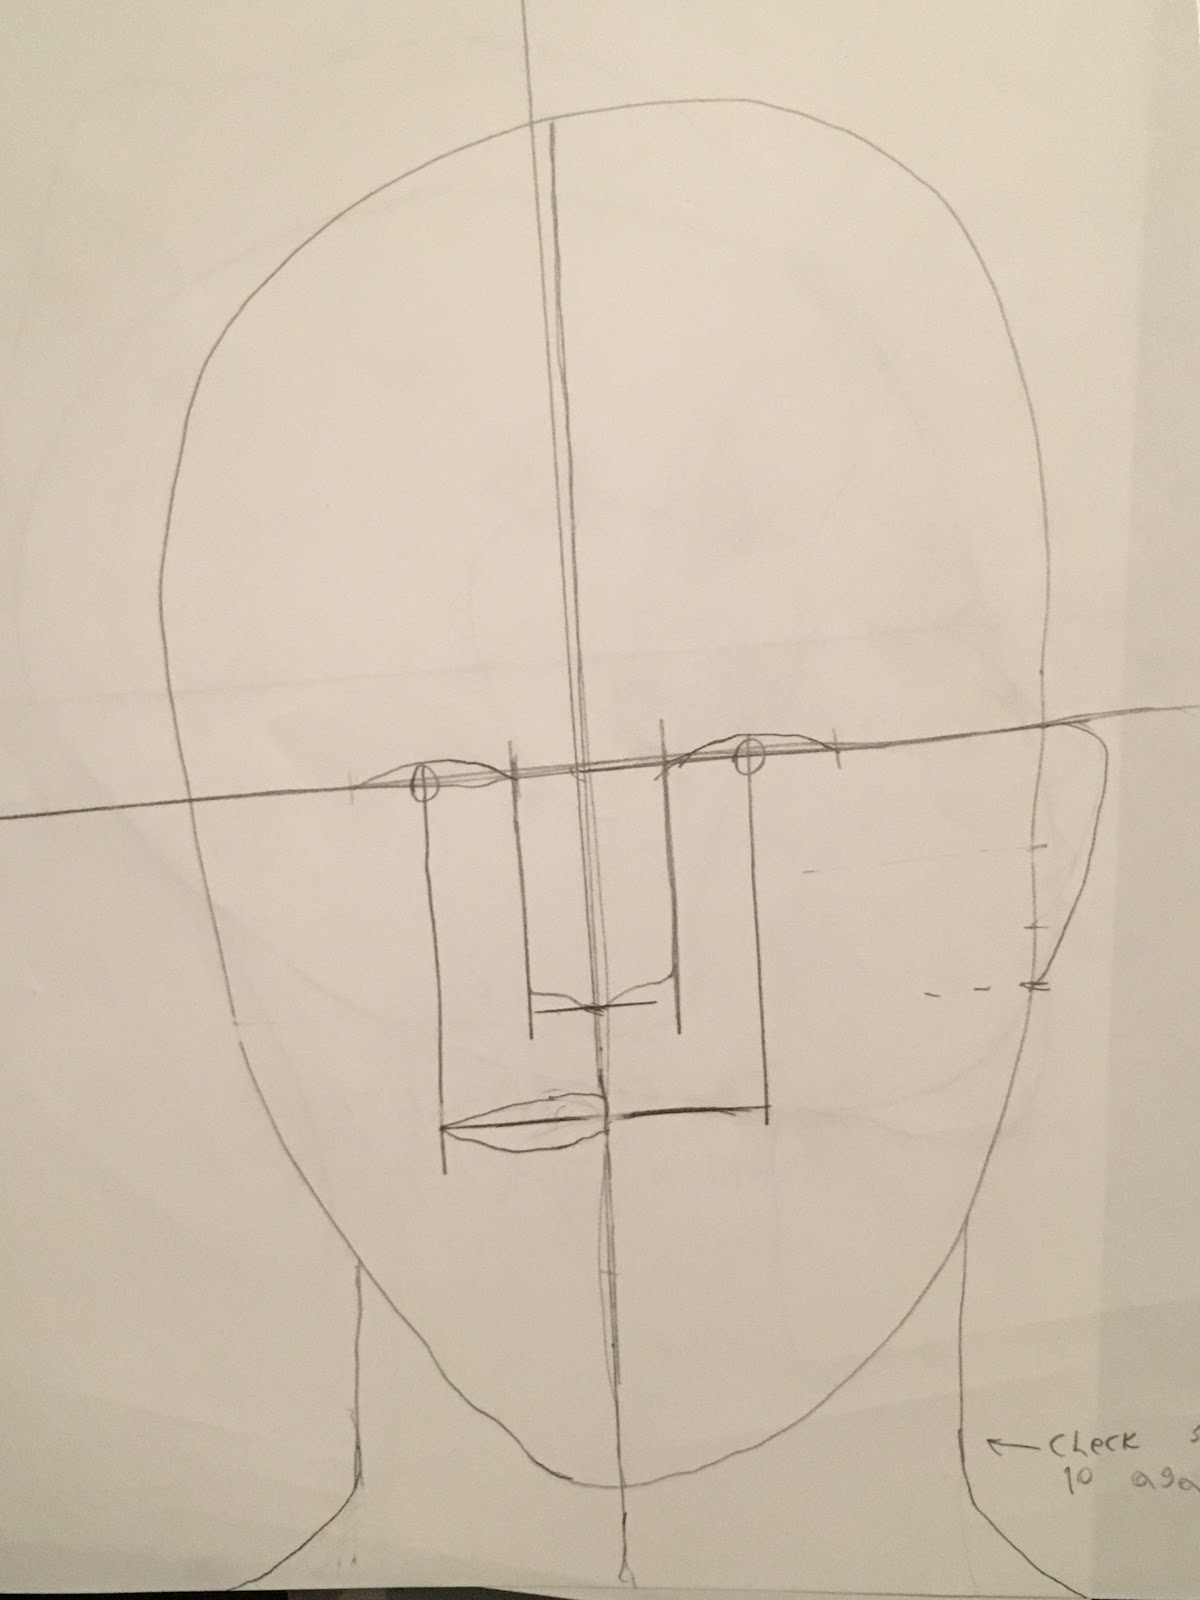
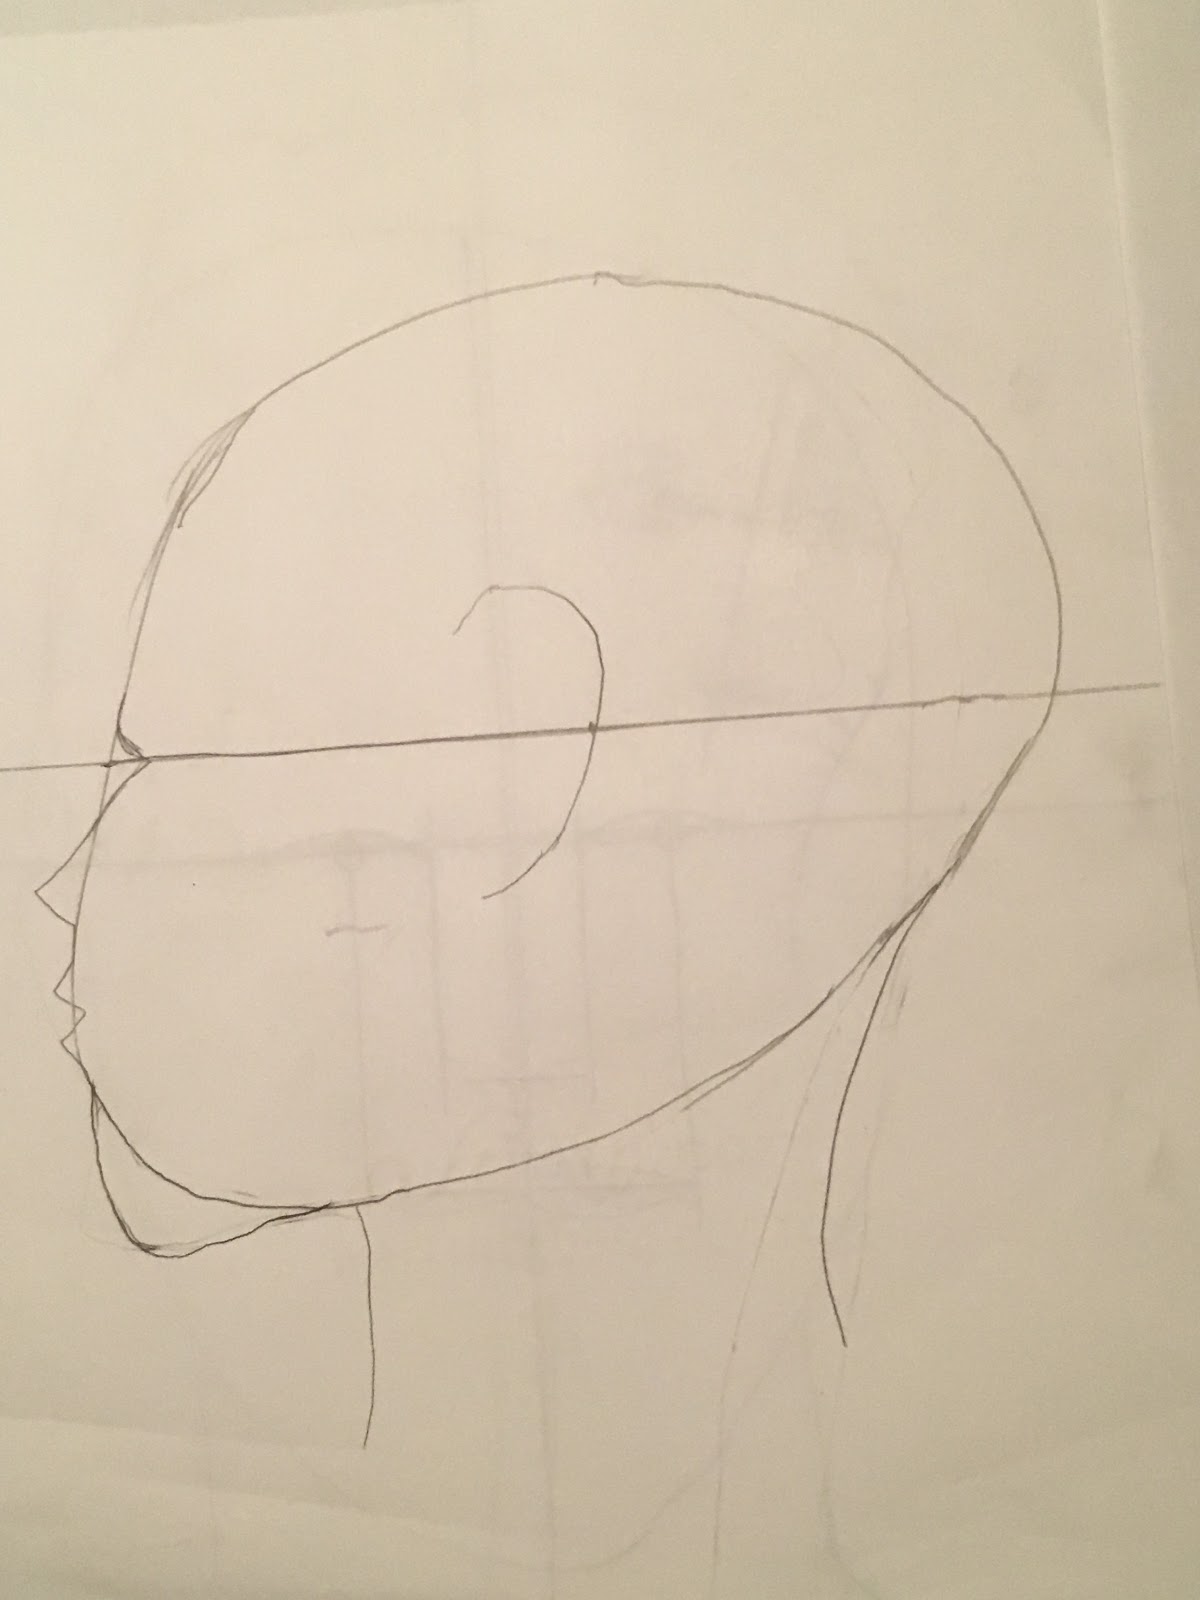
  These are some of the reference drawings that I copied down for facial and head anatomy. The front-facing subject had a lot of focus put on the position of parts in relation to each other, while the side-facing subject had focused more on their position in relation to the part of the head. That’s why the front facing-shot is more focused on the parts of the face rather than the oddly-shaped head, as is true of the inverse for the side-facing shot. 

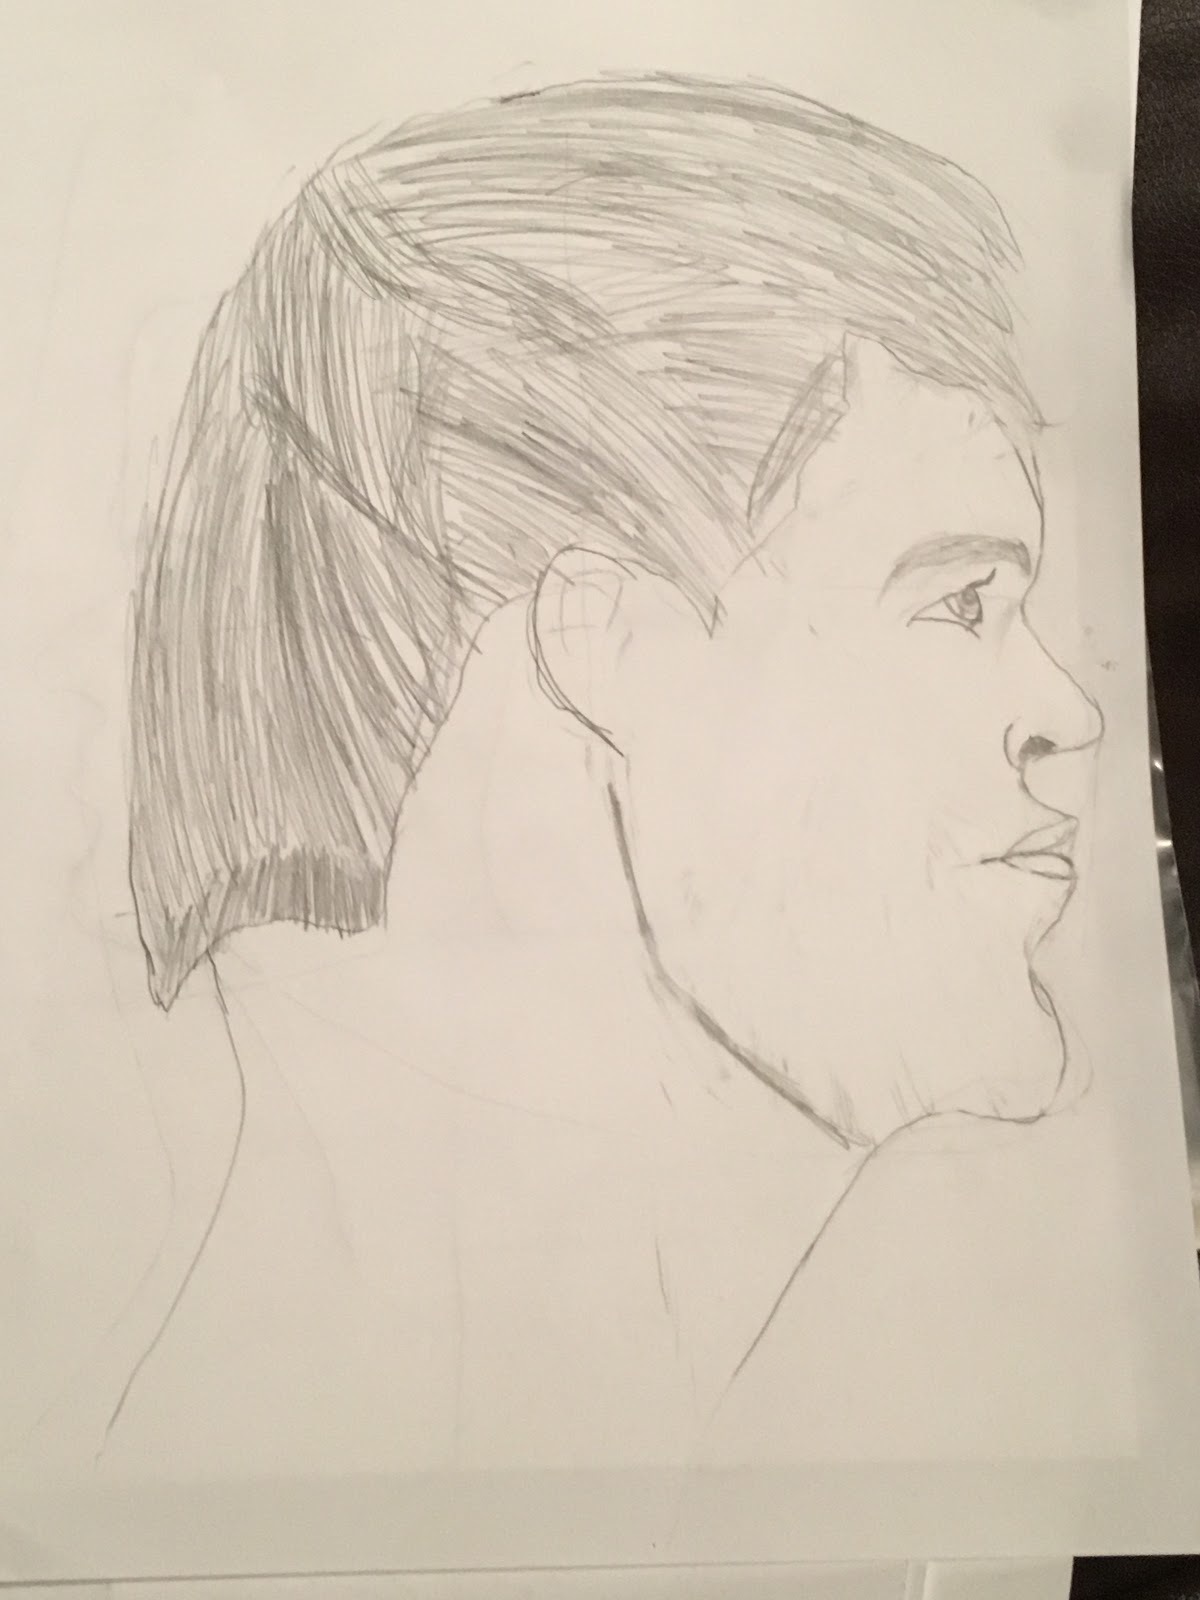
These two were drawn to help me get better acquainted with proper facial anatomy and how to draw a head less than badly, but as I have learned over the course of these blogs, the best way to improve is through practice. The first practice exercise invoked drawing a side-facing model. 

Is there a direct opposite to the word ‘yikes’? 

Okay, so the hair shape did not turn out well, no doubt, but this is still a pretty significant improvement from before! Rather than making what appeared to be a strange-looking character in an Adult Swim cartoon, I managed to finally get at least a decent amount of realism into my drawings. Bear in mind that while it may sound odd that I’m this happy about a sub-par drawing, with the art skills that I had prior to writing this blog, I probably wouldn’t have been able to make a remotely realistic drawing. Granted, this is still far from good realism, but it’s undeniably a step forward. 

Lastly, I would like to mention a method that helps a decent deal with drawing the shape of the head: negative space. Seen below is an example of the start of a practice exercise (which will be finished by the next/final blog update). 

Yes, I’m aware that the neck is too long. Yes, I agree that this looks like a strange alien with that error here. Yes, I also think that it’s funny. Strange neck aside, the reason that the head is shaped like an earbud with eyes is that the model is in three-quarters view with a ponytail and long hair. The shape would have been rather troubling to add on to a standard head shape, so the more suitable method (in my opinion, at least) is to draw the negative space around the head, making the shape more clear and just adding the hair in later once the face is complete. 

That will be all for today. Next time, I’ll be finishing up drawing faces and learning proper shading, alongside it being my final entry. Thank you all, and take care!

Tuesday, June 11, 2019

Edges, Chairs, and Shaky Hands- Oh My! (Guest Post by Ian Vance, Part 2/4)

Edges, Chairs, and Shaky Hands- Oh My!
Part 2 of 4
Author: Ian Vance, Intern with Arlington Artists Academy at Gallery Clarendon. 

Hello again, readers! I’m here to share the experience of someone with little natural drawing talent learning to do just that. I always somewhat knew that there would be some improvement with learning a new and more effective method of drawing, but what I find most interesting is how somebody who could be considered a ‘bad artist’ has the ability to make some pretty sweet illustrations, so long as they just get into the right mindset. 

I’ve said it once, and I’ll say it again:
Yikes
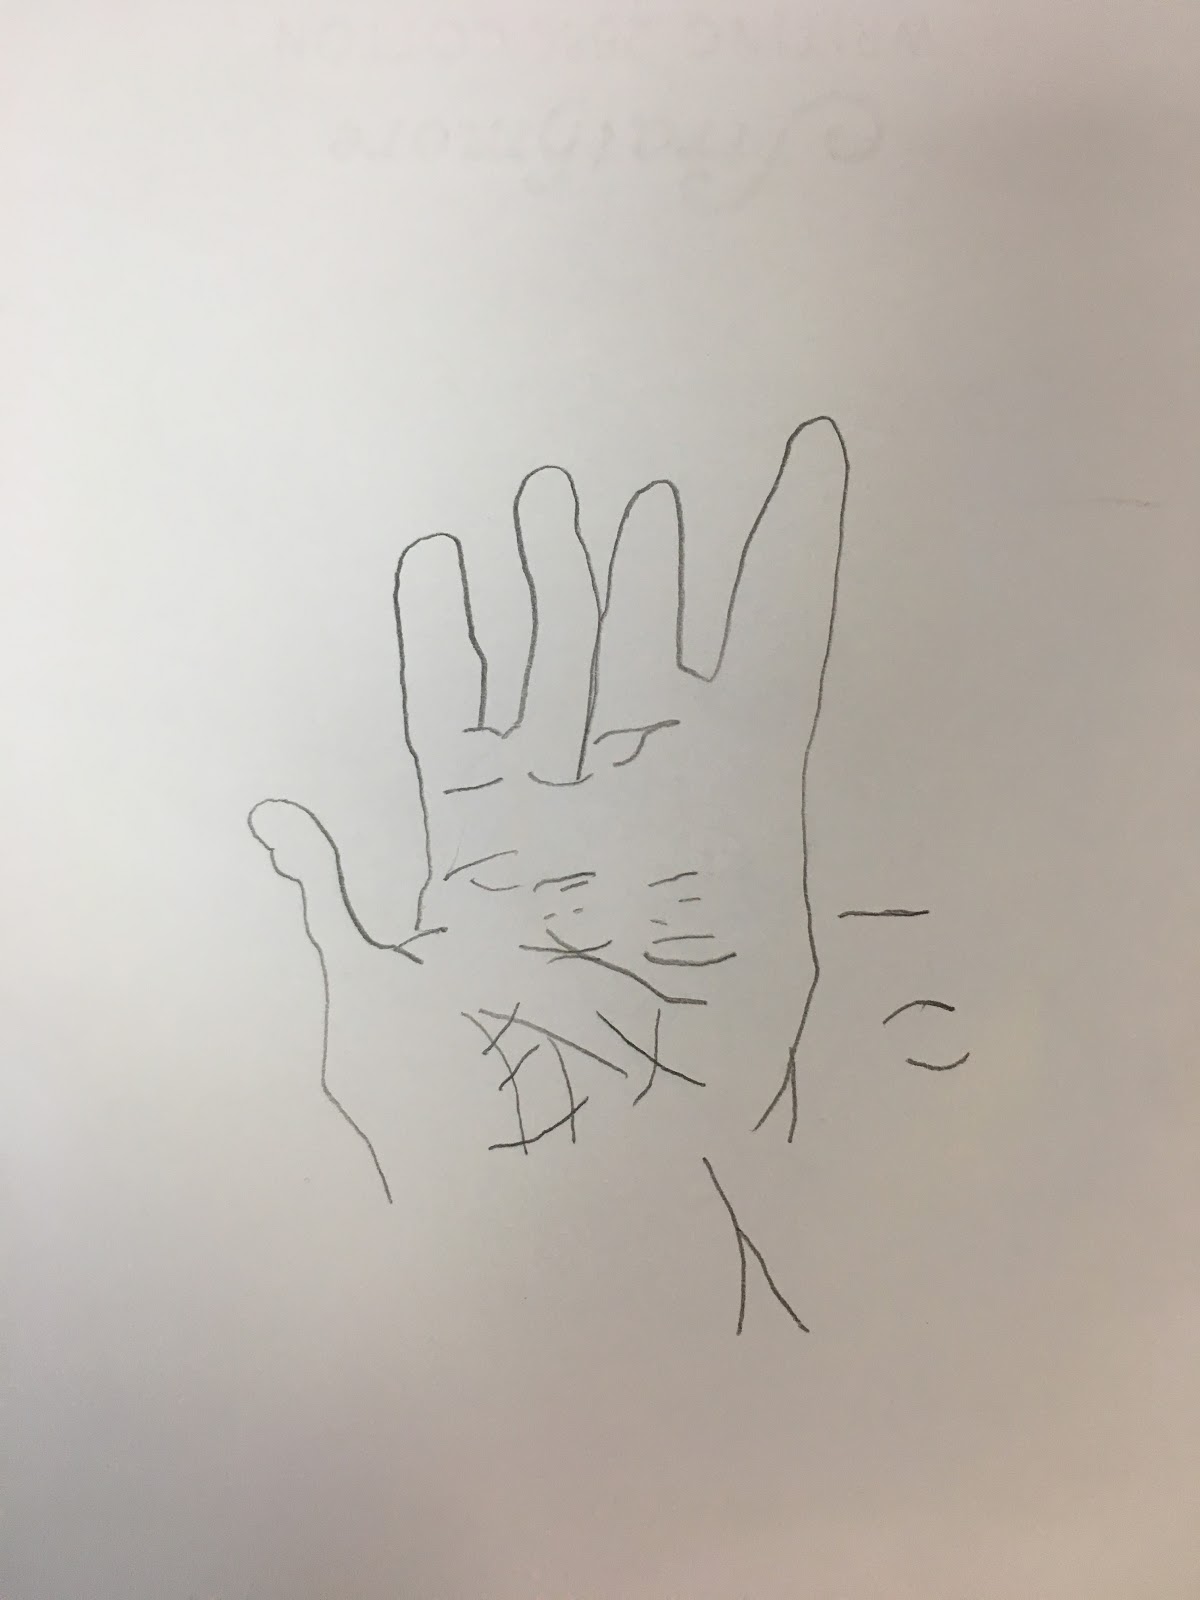
Although I got the basic idea when doing the work shared in the last update, it became noticeably more apparent when I was working on some of the later exercises in Drawing on the Right Side of the Brain by Betty Edwards. One such method was drawing contours, or edges as they are perceived by the viewer. The book detailed two types of contour drawing: Pure and Modified. Pure contour drawing is what I would consider the more difficult method of the two. Basically, you slowly draw every contour you see on an object without actually looking at what you’re drawing, matching the slow movements of your eyes across the edges with the movements of your pencil. To practice this, I tried doing this with my hand. Of course, this was likely going to only barely resemble a hand, but the point is that the contours themselves actually look fairly detailed, despite some of the skin folds not being on the hand.


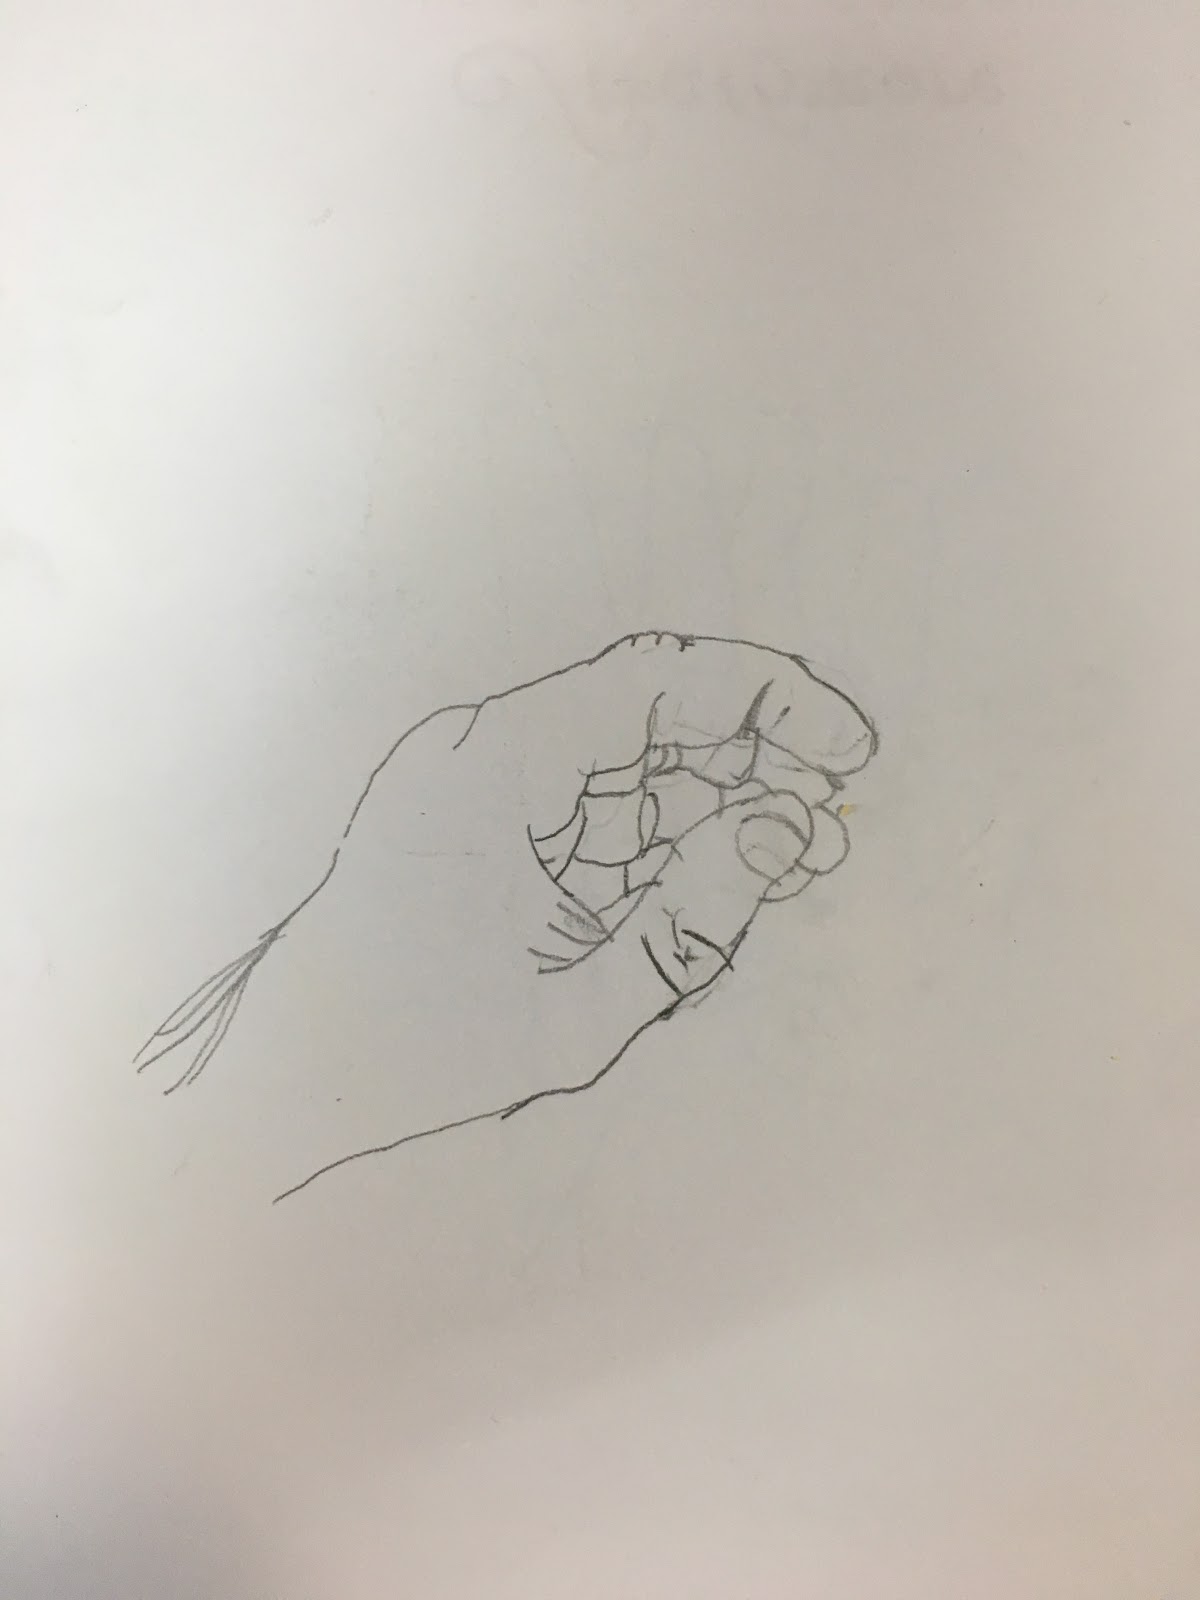
Next up, there was the practice of modified contour drawing. This is basically the same as pure contour drawing, but this time, you are allowed to glance at what you’re drawing from time to time. Once again, I did a drawing of my hand. 

Once again, while it is not perfect (or particularly good), it’s a good deal more detailed from what I can usually put on paper. It also nicely displays the benefits of drawing simply from observing the lines and spaces, rather than labeling each part mentally. Had I done this in a more ‘left-brain’ fashion, it would have likely looked much worse. 

Another thing that came up was the process of working with negative space. To put it very simply, negative space is basically the shape that the empty areas around the subject being drawn. The book details the method of viewing the negative space as individual shapes and drawing them instead. 

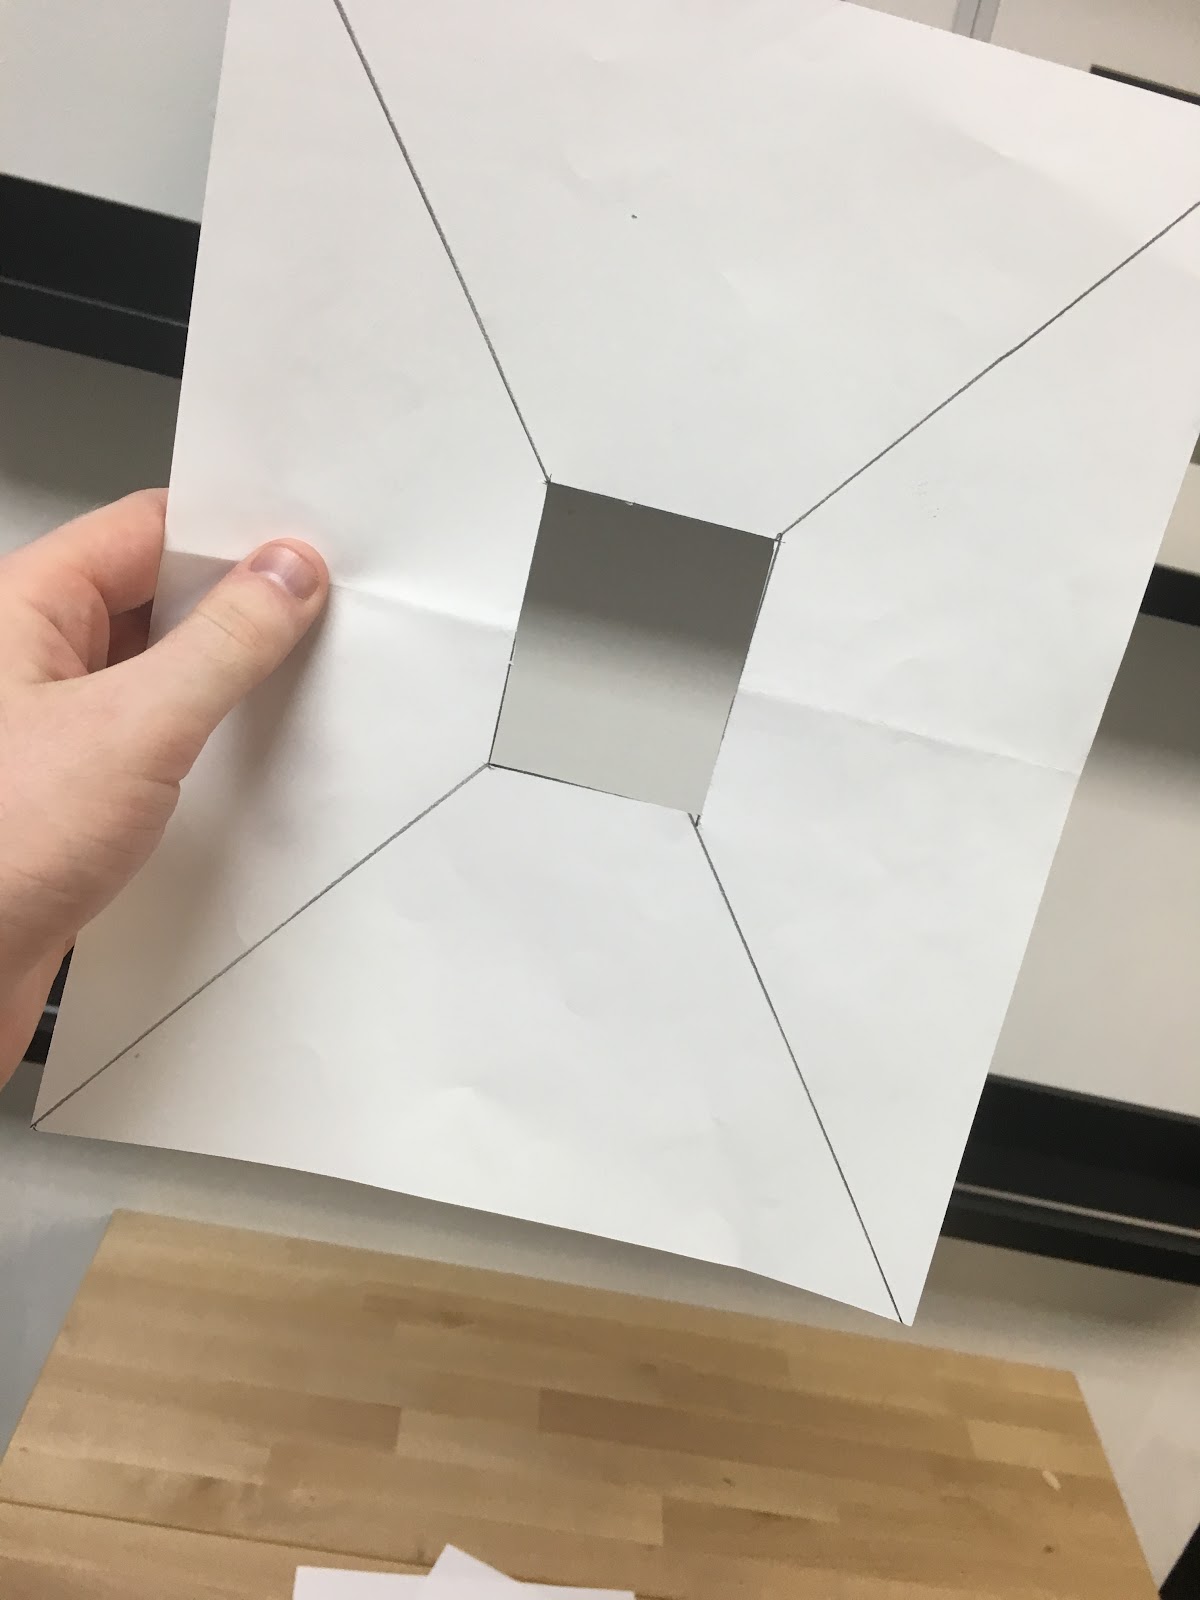
In order to do this, I needed to see the objects I was drawing as if they were on a page. The book addressed this by instructing me to create a makeshift viewfinder to see the object through. 

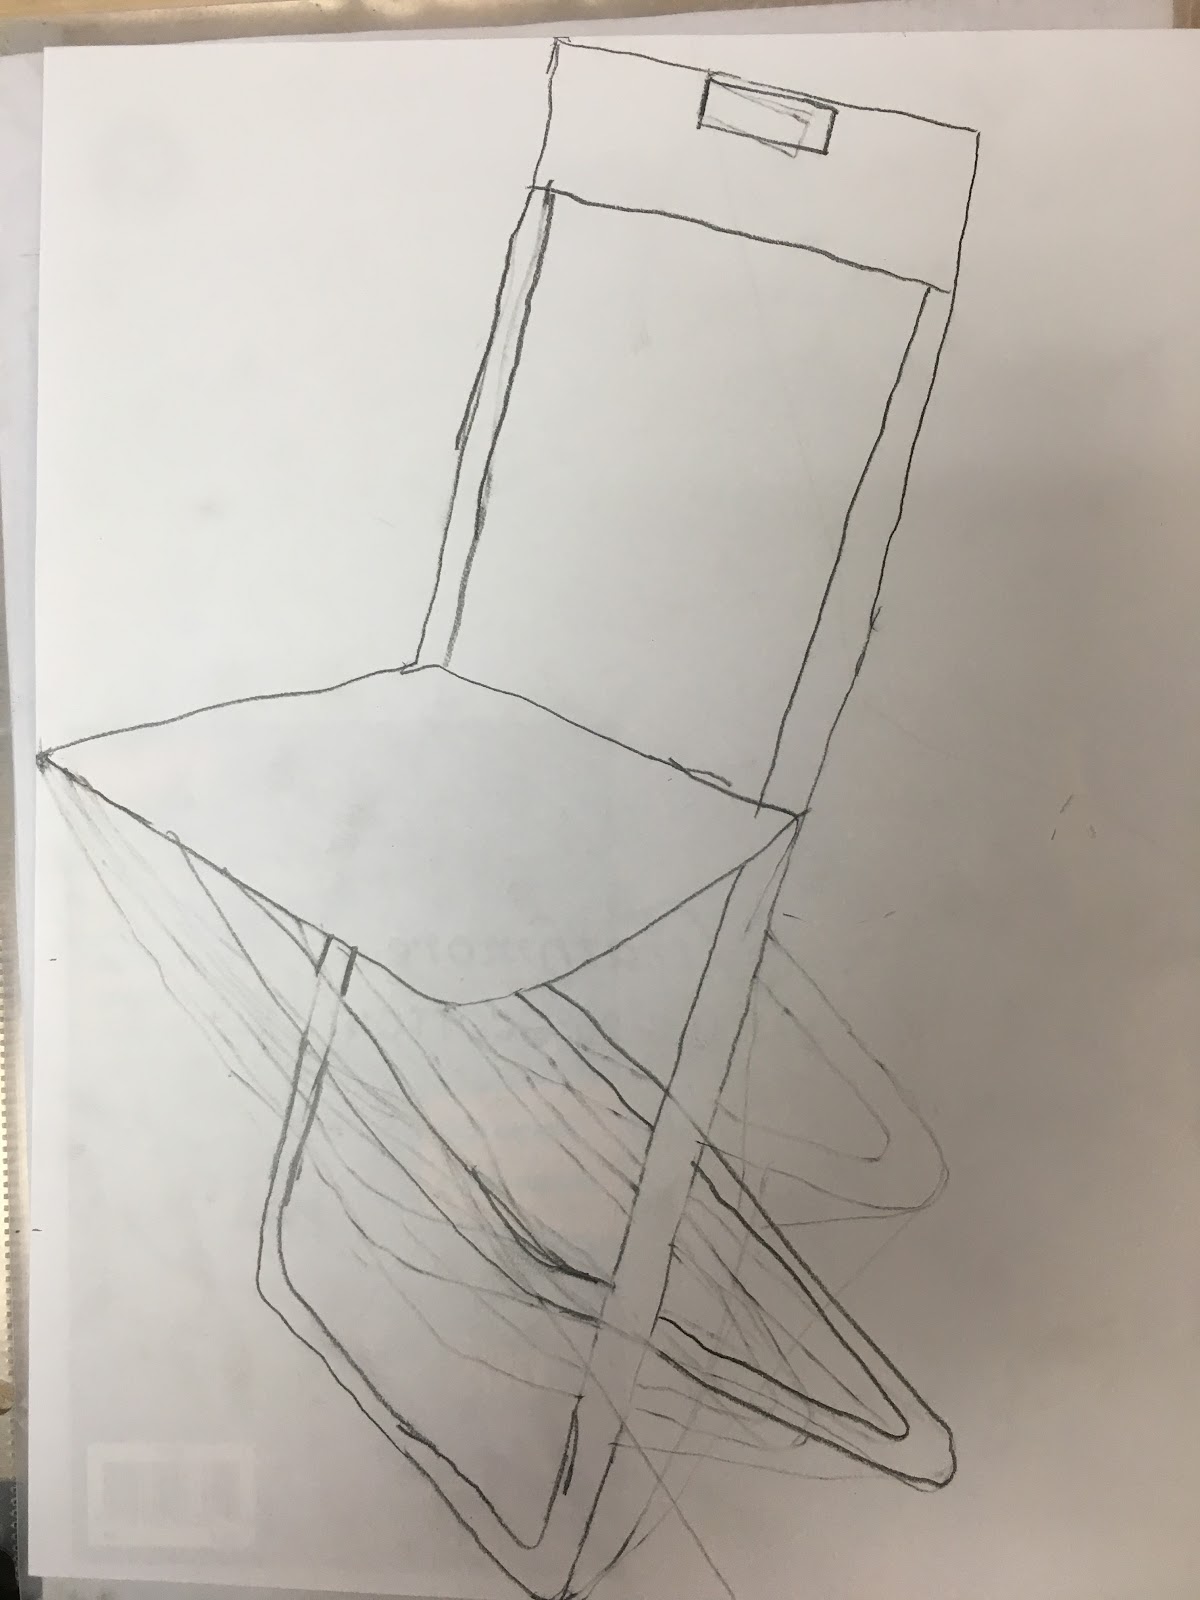
This then left me with the task of viewing an object through it, and beginning to see the spaces around the object in relation to the edges of the hole. I then drew the object, to which I designated a folding chair, and added the details later. However, I soon noticed a problem with this method when I took into account who was holding up the viewfinder. 


Let this be a lesson: 
Never give a man with shaky 
hand the task of holding something 
completely still.

Otherwise, however, after a bit more practice, I thankfully found this method to be very helpful in drawing more realistically. 

Before I sign off, I should point out that these exercises that I have shown are not enough alone to accomplish the book’s goal. These are only the ‘highlights,’ if you will. Still, it’s evident that the book has been very helpful in learning to draw. So far, I would definitely recommend it to anyone who wishes to tap into that inner creative energy. 

Thank you, and take care.