Part 3 of 4
Author: Ian Vance, Intern with Arlington Artists Academy at Gallery Clarendon.
Hello again, it’s the planet’s most talented illustrator here again for another update on my experience learning how to draw. During my previous posts, I focused on reading through Drawing on the Right Side of the Brain’s first half, learning proper contours and proportions, focusing more on relative size and distance rather than the actual objects I’m drawing and what the whole picture should look like. This time, though, I was more focused on learning to apply that to drawing faces. Author: Ian Vance, Intern with Arlington Artists Academy at Gallery Clarendon.
If you’d recall the first exercise I did, I was to attempt to draw a picture of a face to compare later on. It definitely had a fairly ok facial resemblance, but lacked proper anatomy or… good drawing to improve it in a practical manner.
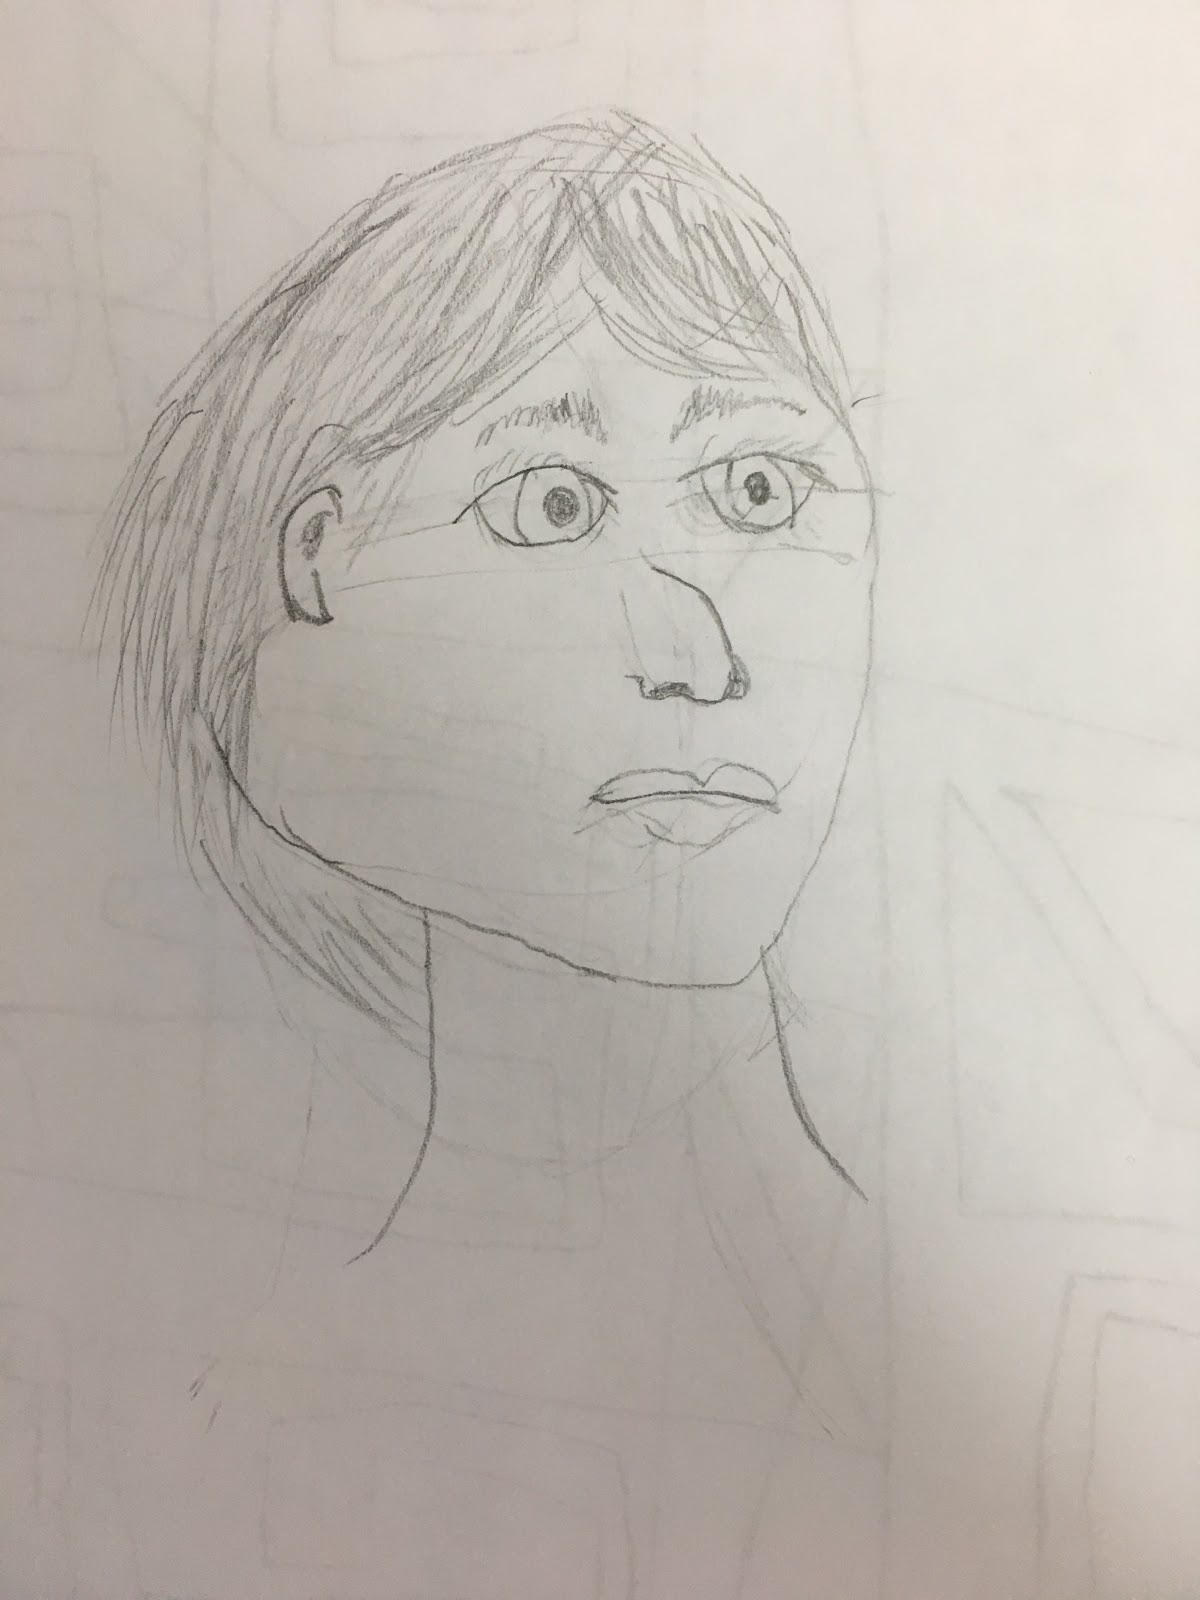
For all the criticism I gave this drawing, though, I’m starting to like it more, and not just because it has a comically blank stare. It actually looks somewhat proportionally sound, if not a little cartoony.
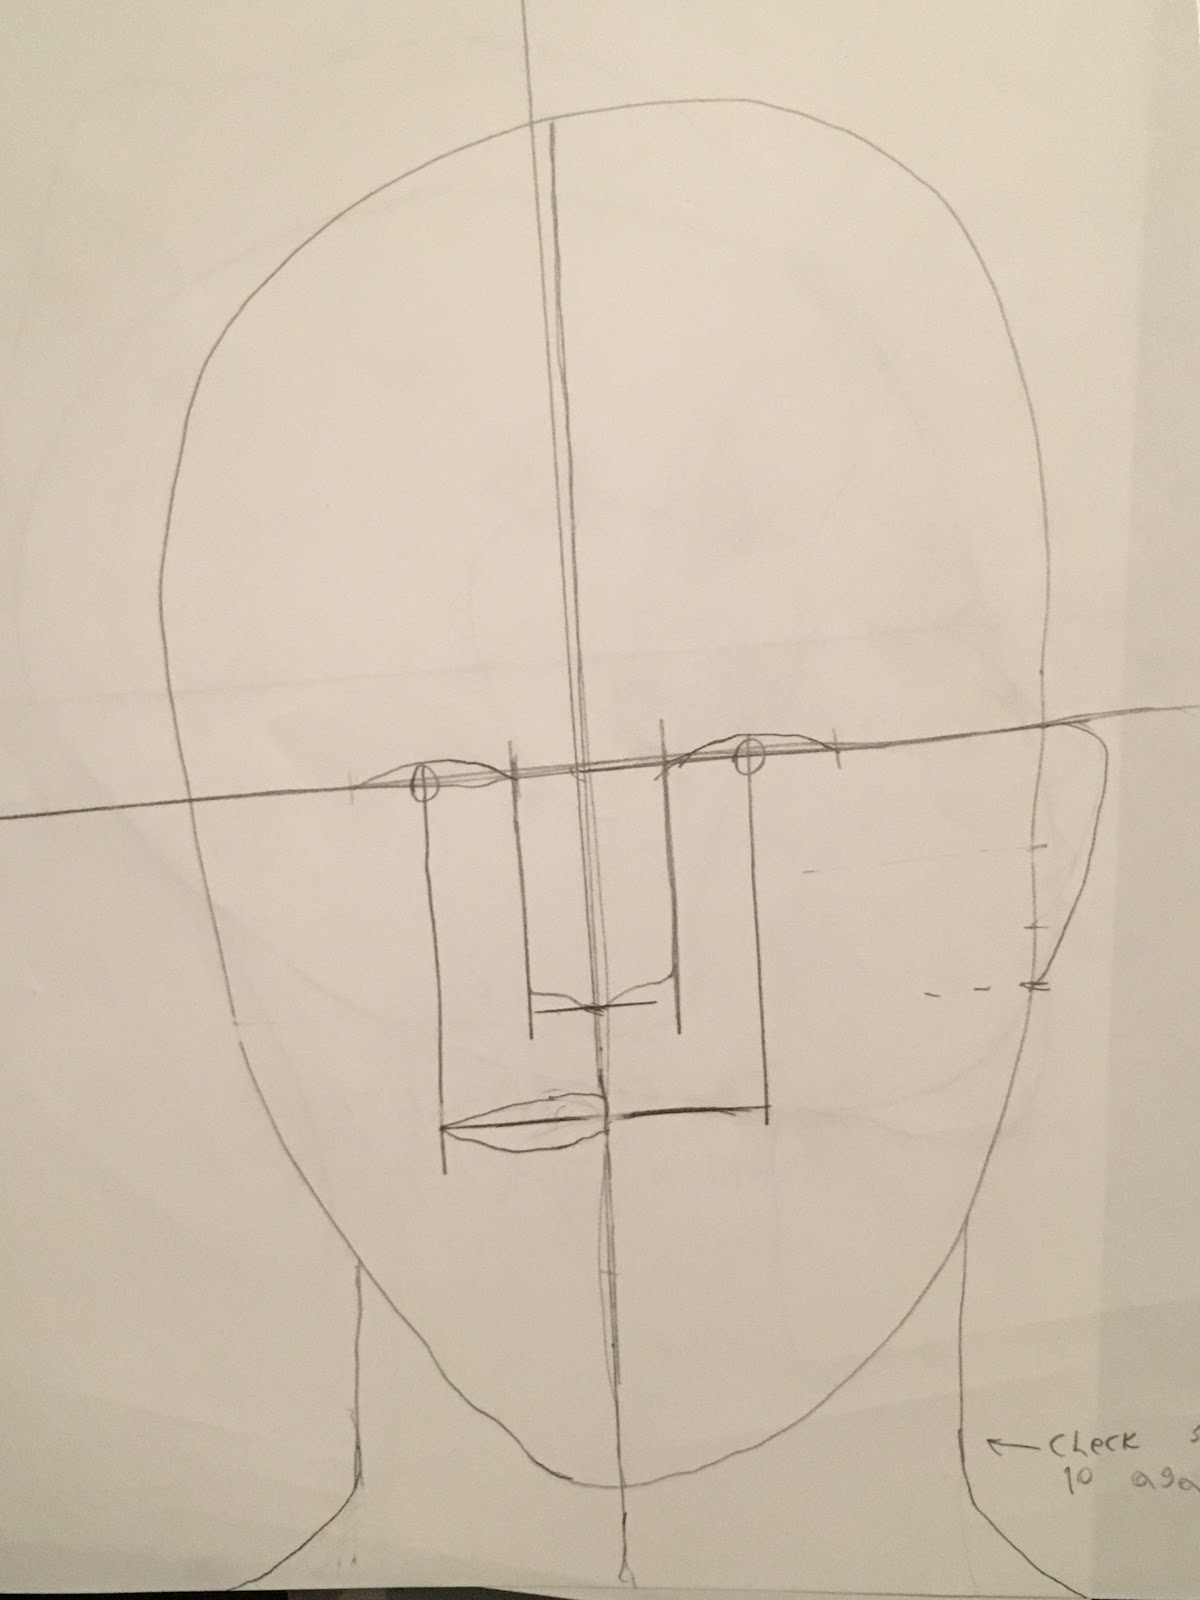
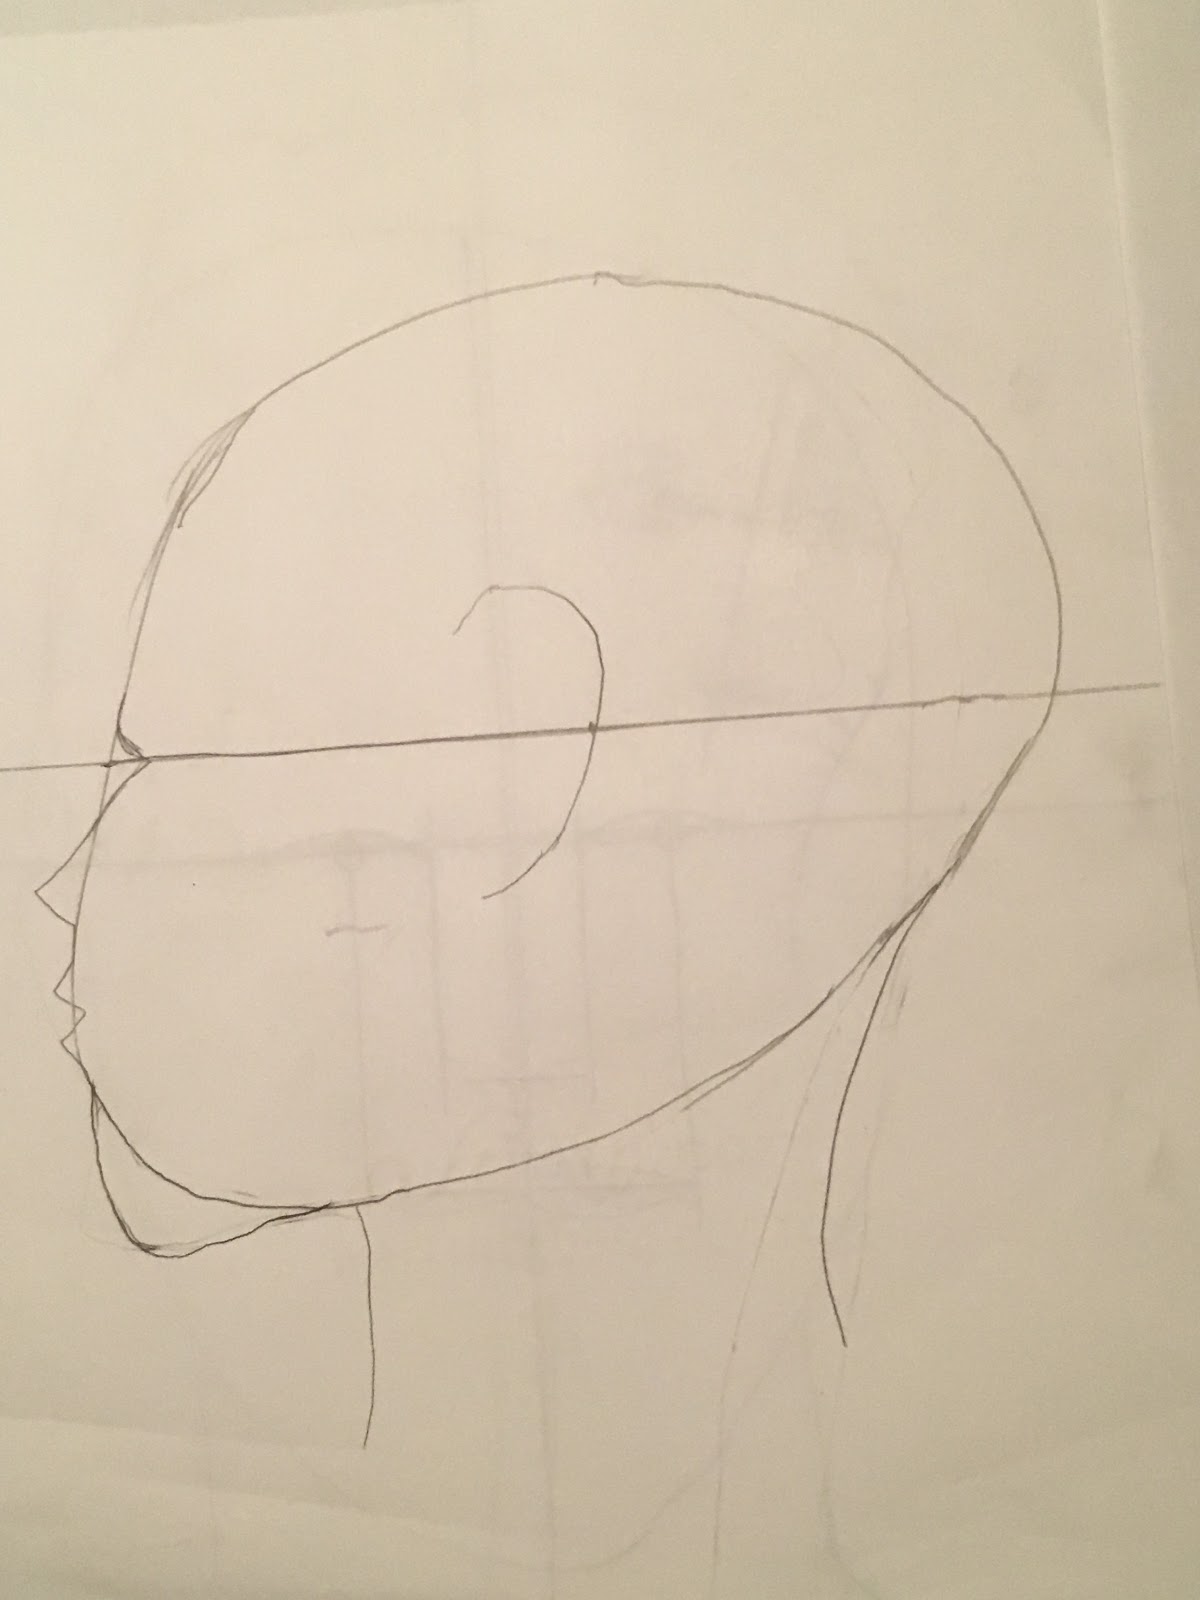 These are some of the reference drawings that I copied down for facial and head anatomy. The front-facing subject had a lot of focus put on the position of parts in relation to each other, while the side-facing subject had focused more on their position in relation to the part of the head. That’s why the front facing-shot is more focused on the parts of the face rather than the oddly-shaped head, as is true of the inverse for the side-facing shot.
 These two were drawn to help me get better acquainted with proper facial anatomy and how to draw a head less than badly, but as I have learned over the course of these blogs, the best way to improve is through practice. The first practice exercise invoked drawing a side-facing model.
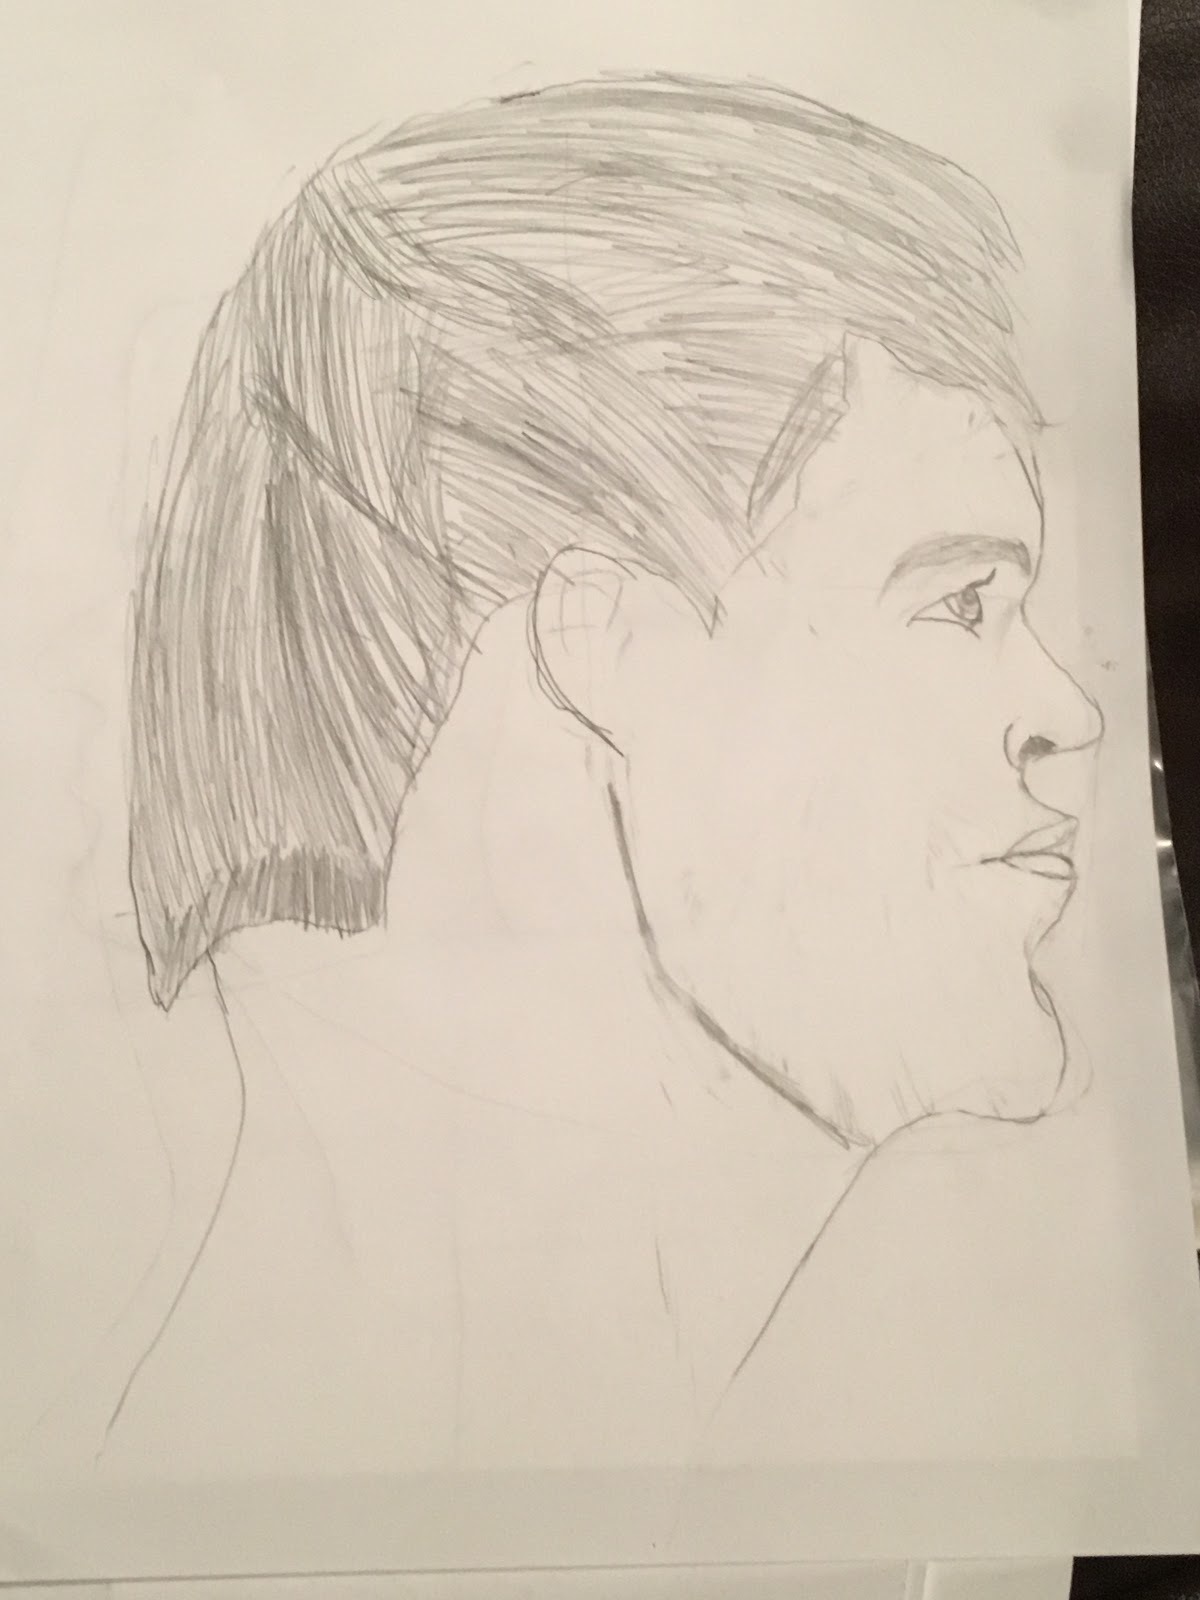 Is there a direct opposite to the word ‘yikes’?
 Okay, so the hair shape did not turn out well, no doubt, but this is still a pretty significant improvement from before! Rather than making what appeared to be a strange-looking character in an Adult Swim cartoon, I managed to finally get at least a decent amount of realism into my drawings. Bear in mind that while it may sound odd that I’m this happy about a sub-par drawing, with the art skills that I had prior to writing this blog, I probably wouldn’t have been able to make a remotely realistic drawing. Granted, this is still far from good realism, but it’s undeniably a step forward.
Lastly, I would like to mention a method that helps a decent deal with drawing the shape of the head: negative space. Seen below is an example of the start of a practice exercise (which will be finished by the next/final blog update).
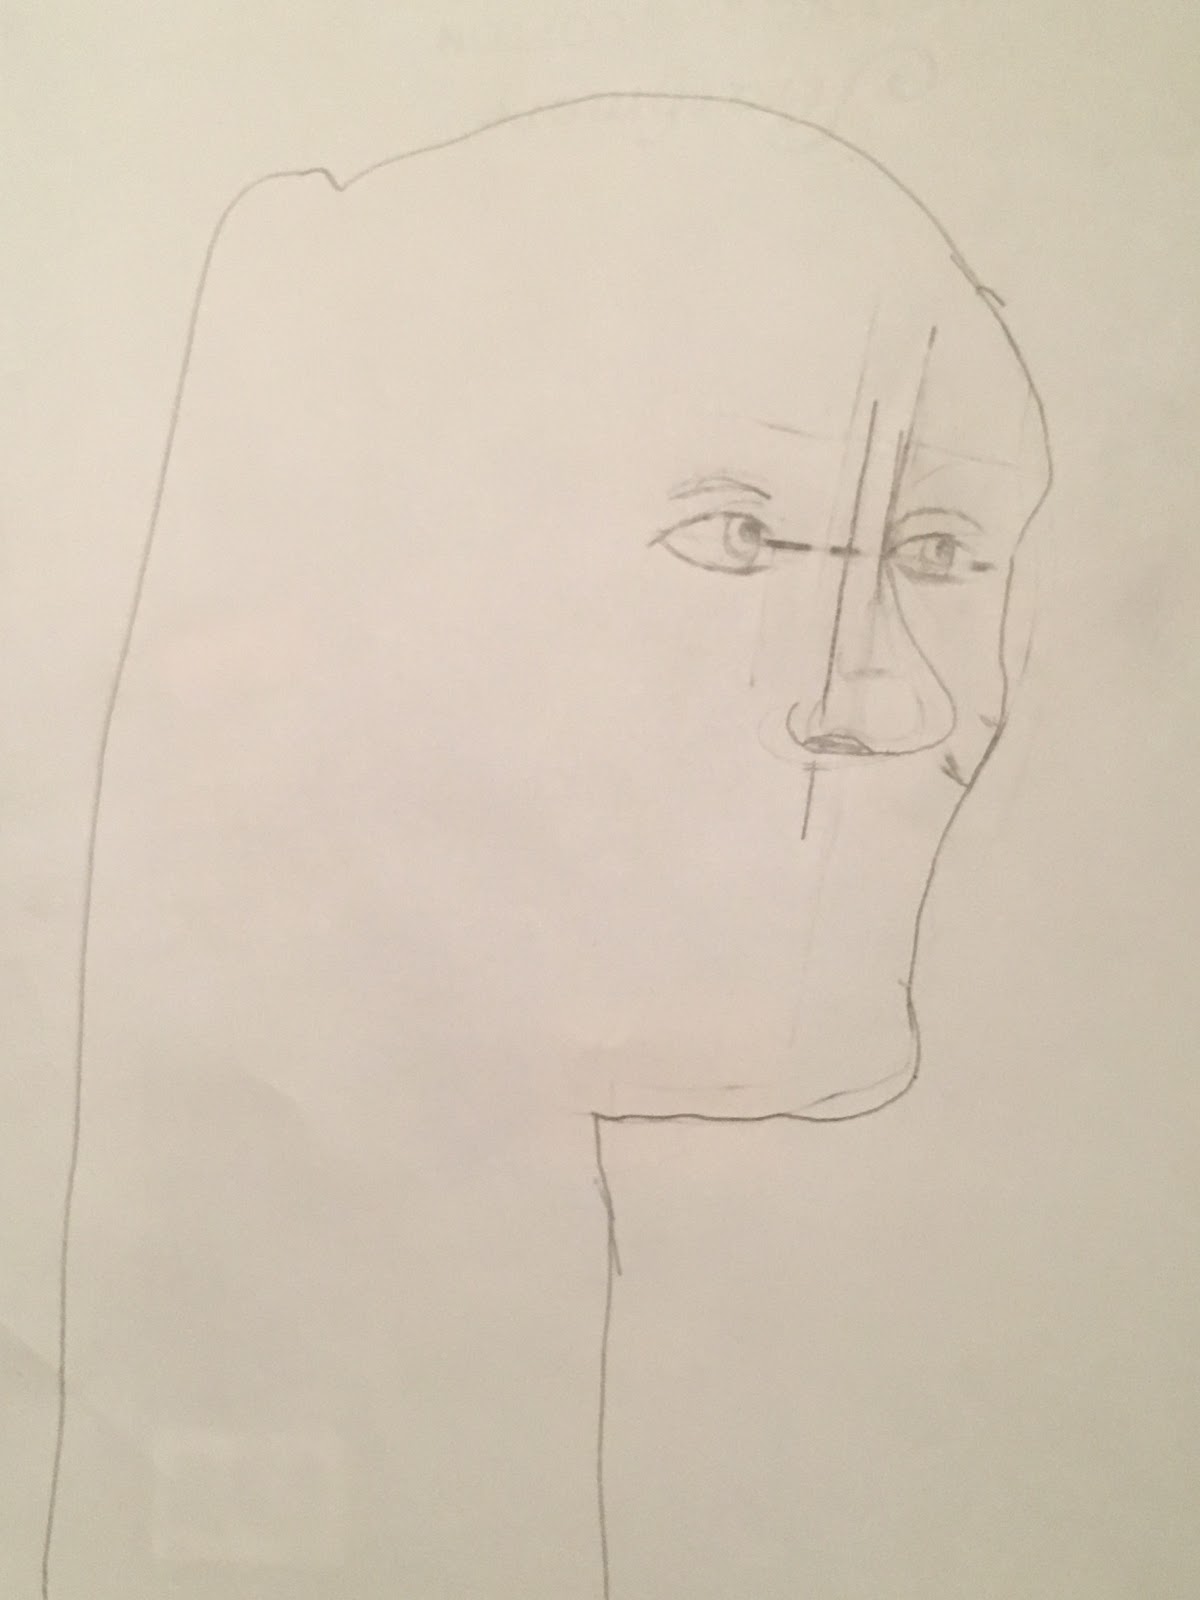 Yes, I’m aware that the neck is too long. Yes, I agree that this looks like a strange alien with that error here. Yes, I also think that it’s funny.
Strange neck aside, the reason that the head is shaped like an earbud with eyes is that the model is in three-quarters view with a ponytail and long hair. The shape would have been rather troubling to add on to a standard head shape, so the more suitable method (in my opinion, at least) is to draw the negative space around the head, making the shape more clear and just adding the hair in later once the face is complete.
Yes, I’m aware that the neck is too long. Yes, I agree that this looks like a strange alien with that error here. Yes, I also think that it’s funny.
Strange neck aside, the reason that the head is shaped like an earbud with eyes is that the model is in three-quarters view with a ponytail and long hair. The shape would have been rather troubling to add on to a standard head shape, so the more suitable method (in my opinion, at least) is to draw the negative space around the head, making the shape more clear and just adding the hair in later once the face is complete. That will be all for today. Next time, I’ll be finishing up drawing faces and learning proper shading, alongside it being my final entry. Thank you all, and take care!