
Part 2 of 4
Author: Ian Vance, Intern with Arlington Artists Academy at Gallery Clarendon.
Hello again, readers! I’m here to share the experience of someone with little natural drawing talent learning to do just that. I always somewhat knew that there would be some improvement with learning a new and more effective method of drawing, but what I find most interesting is how somebody who could be considered a ‘bad artist’ has the ability to make some pretty sweet illustrations, so long as they just get into the right mindset. Author: Ian Vance, Intern with Arlington Artists Academy at Gallery Clarendon.
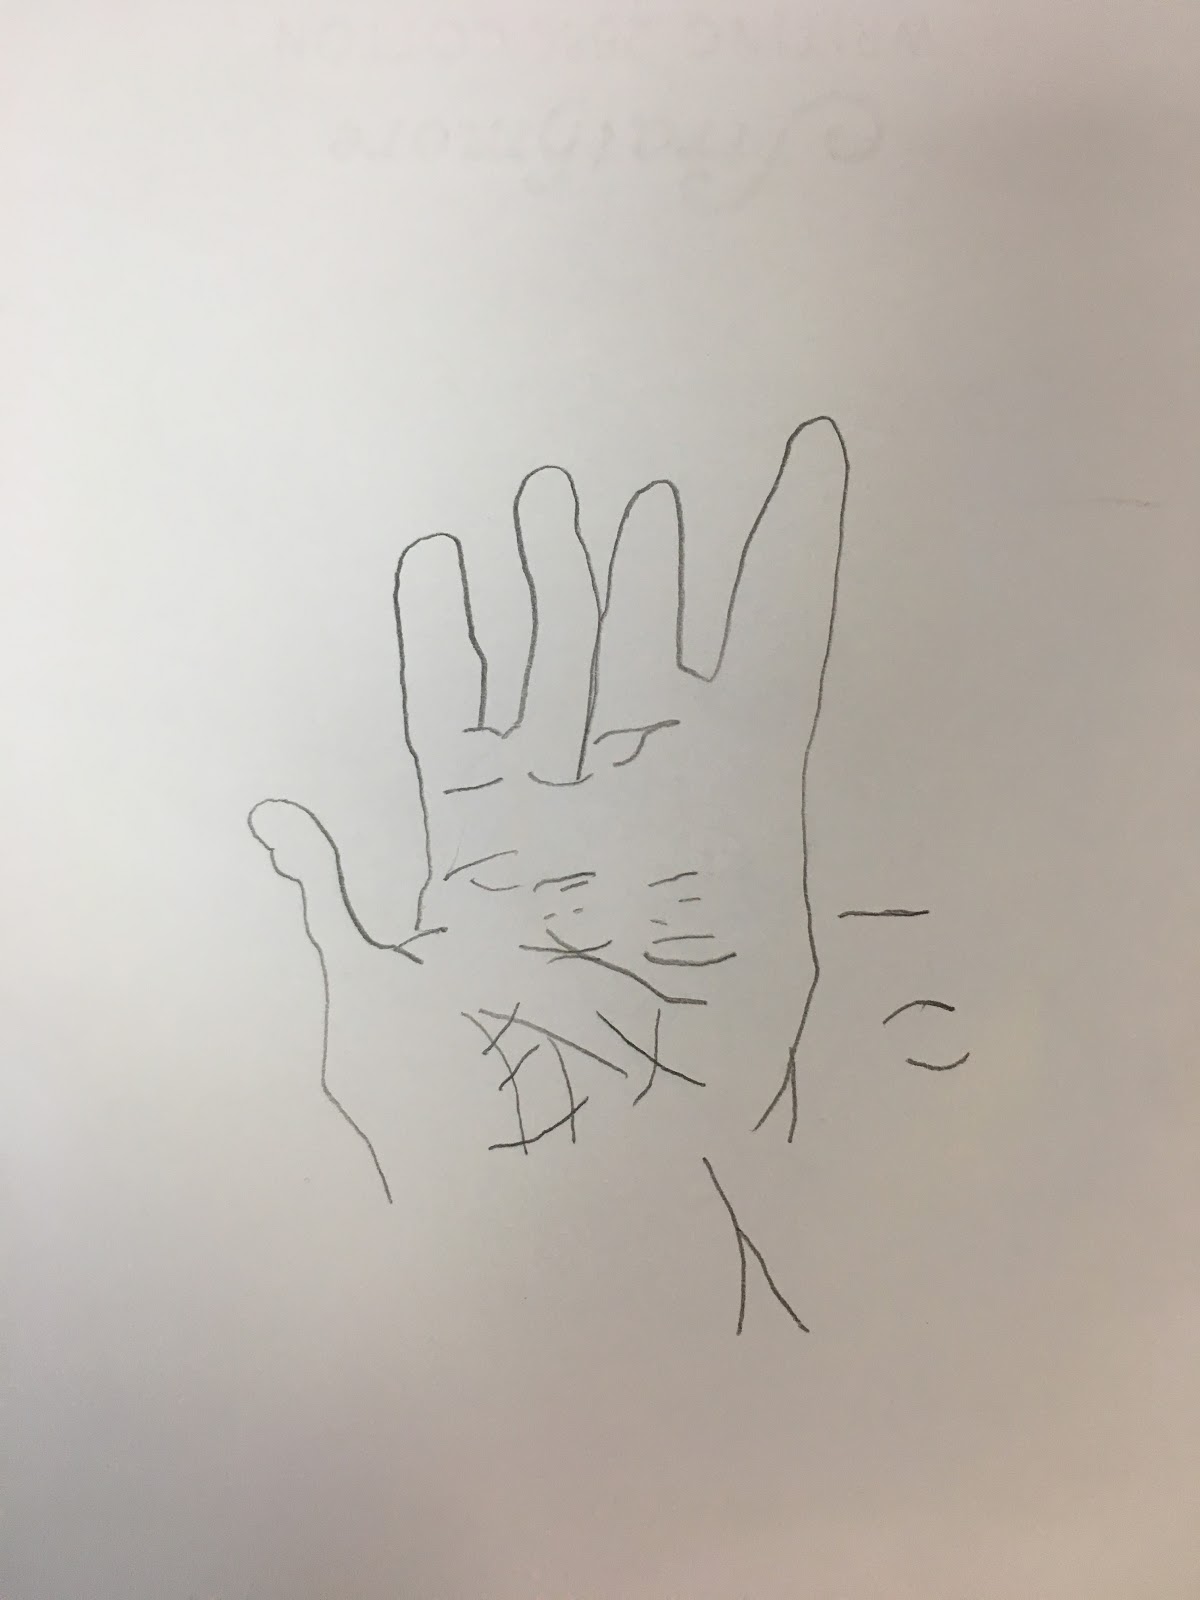 |
I’ve said it once, and I’ll say it again:
Yikes
|
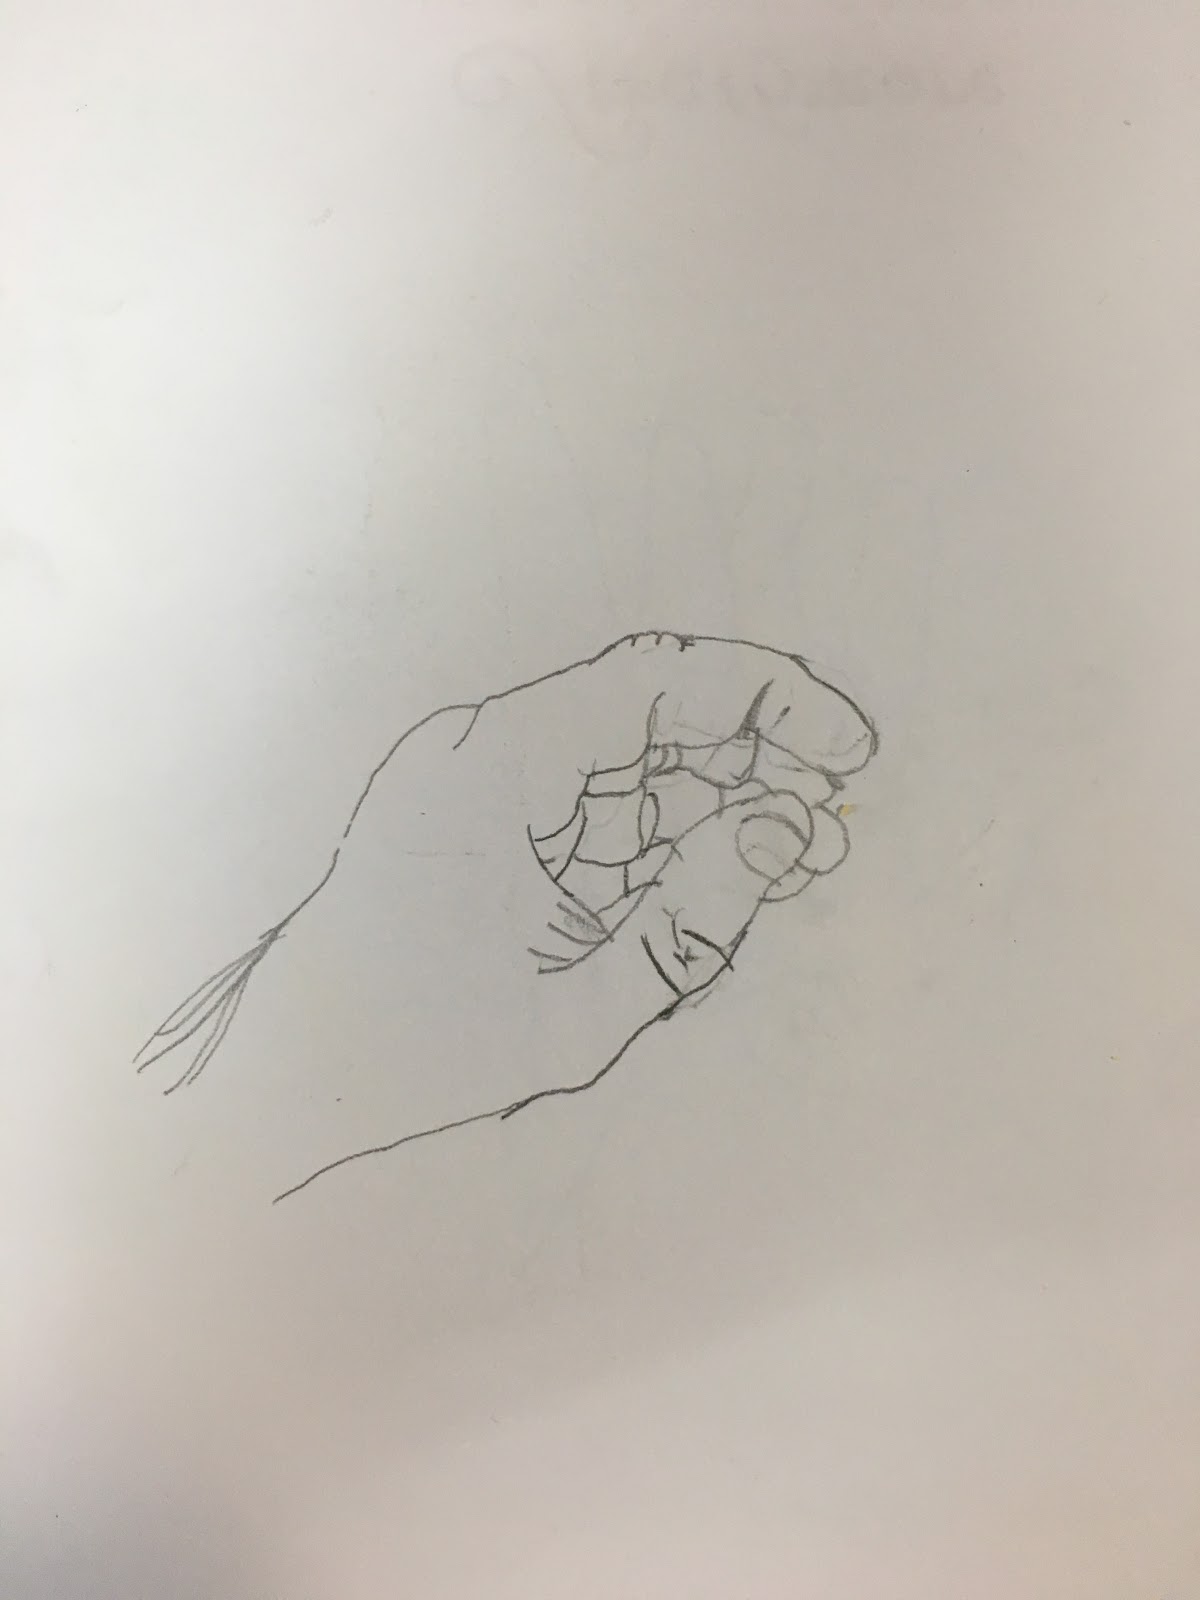
Next up, there was the practice of modified contour drawing. This is basically the same as pure contour drawing, but this time, you are allowed to glance at what you’re drawing from time to time. Once again, I did a drawing of my hand.
Once again, while it is not perfect (or particularly good), it’s a good deal more detailed from what I can usually put on paper. It also nicely displays the benefits of drawing simply from observing the lines and spaces, rather than labeling each part mentally. Had I done this in a more ‘left-brain’ fashion, it would have likely looked much worse.
Another thing that came up was the process of working with negative space. To put it very simply, negative space is basically the shape that the empty areas around the subject being drawn. The book details the method of viewing the negative space as individual shapes and drawing them instead.
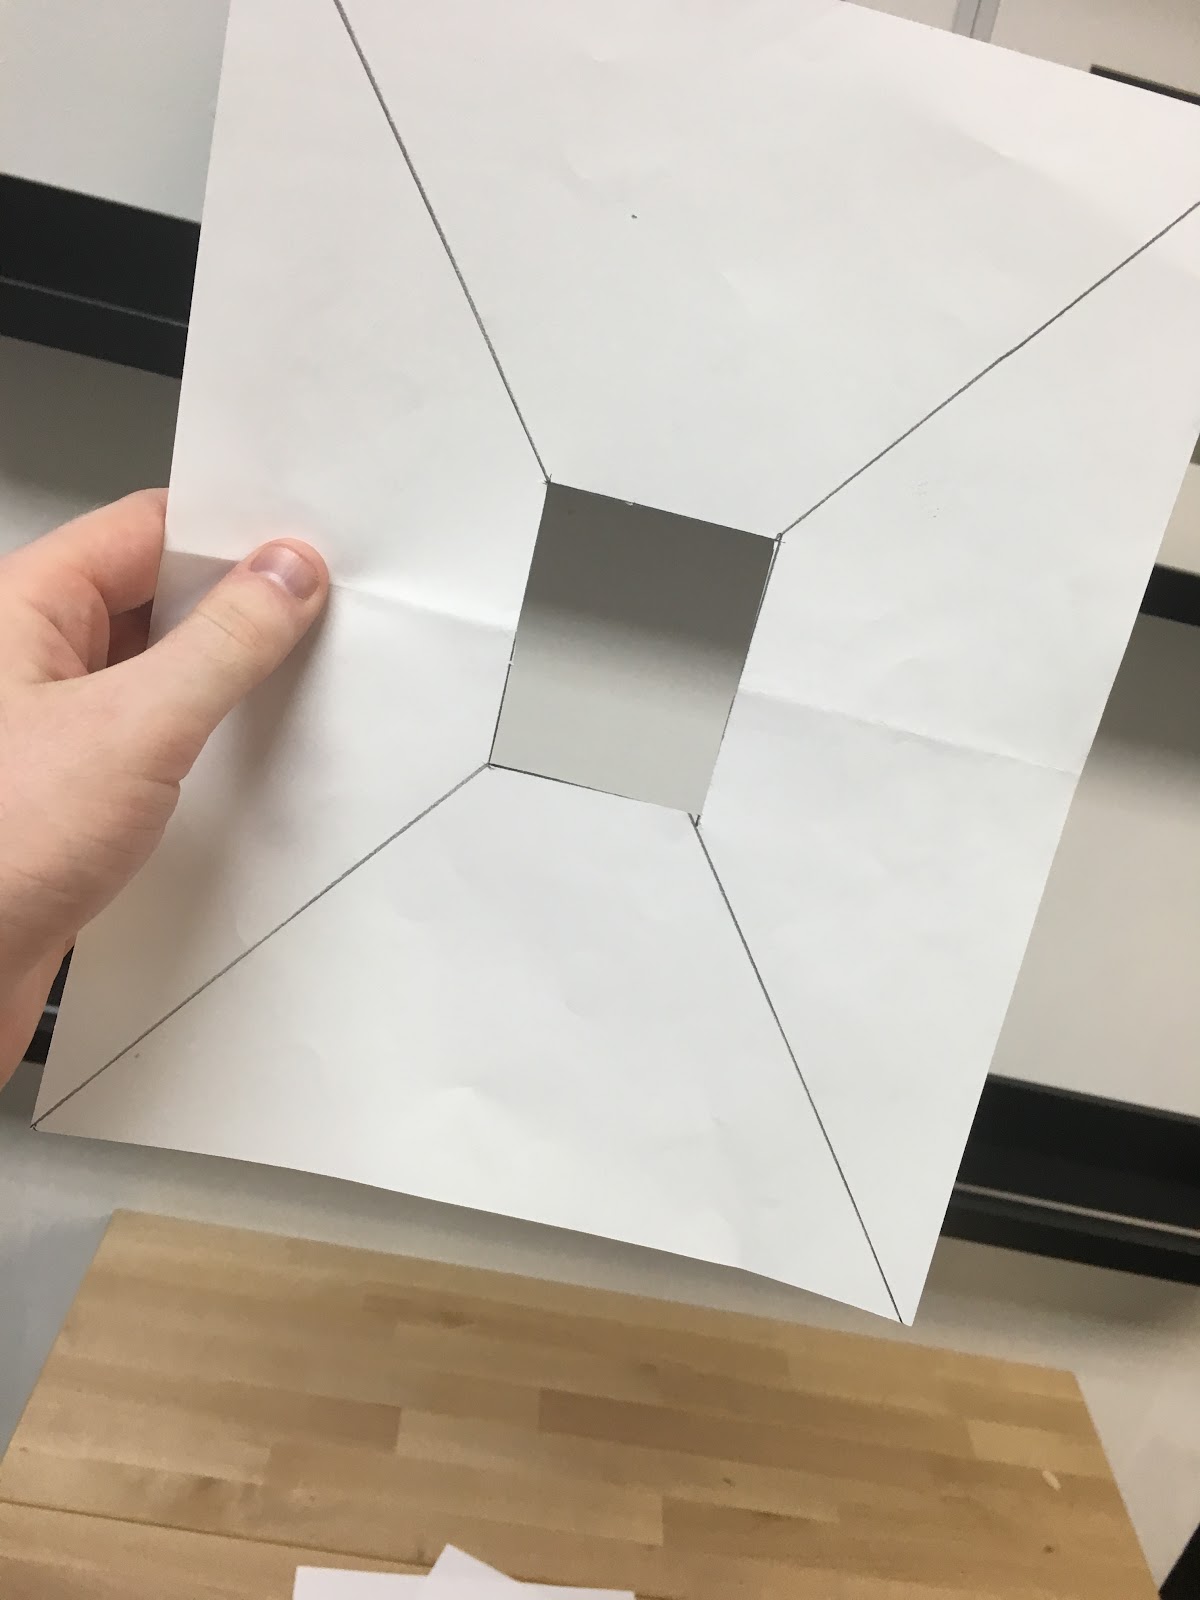 In order to do this, I needed to see the objects I was drawing as if they were on a page. The book addressed this by instructing me to create a makeshift viewfinder to see the object through.
 This then left me with the task of viewing an object through it, and beginning to see the spaces around the object in relation to the edges of the hole. I then drew the object, to which I designated a folding chair, and added the details later. However, I soon noticed a problem with this method when I took into account who was holding up the viewfinder.
 |
| Let this be a lesson: Never give a man with shaky hand the task of holding something completely still. |
Otherwise, however, after a bit more practice, I thankfully found this method to be very helpful in drawing more realistically.
Before I sign off, I should point out that these exercises that I have shown are not enough alone to accomplish the book’s goal. These are only the ‘highlights,’ if you will. Still, it’s evident that the book has been very helpful in learning to draw. So far, I would definitely recommend it to anyone who wishes to tap into that inner creative energy.
Thank you, and take care.
No comments:
Post a Comment